Visual studio Codeのインストール
下記URLよりVisual Studio Codeのインストーラーをダウンロードしてインストールします。
https://code.visualstudio.com/

Node.jsをインストールします
Node.jsの複数のバージョンを管理したい時は、下記のURLを参照ください
nodistでnode.jsのバージョン管理をする
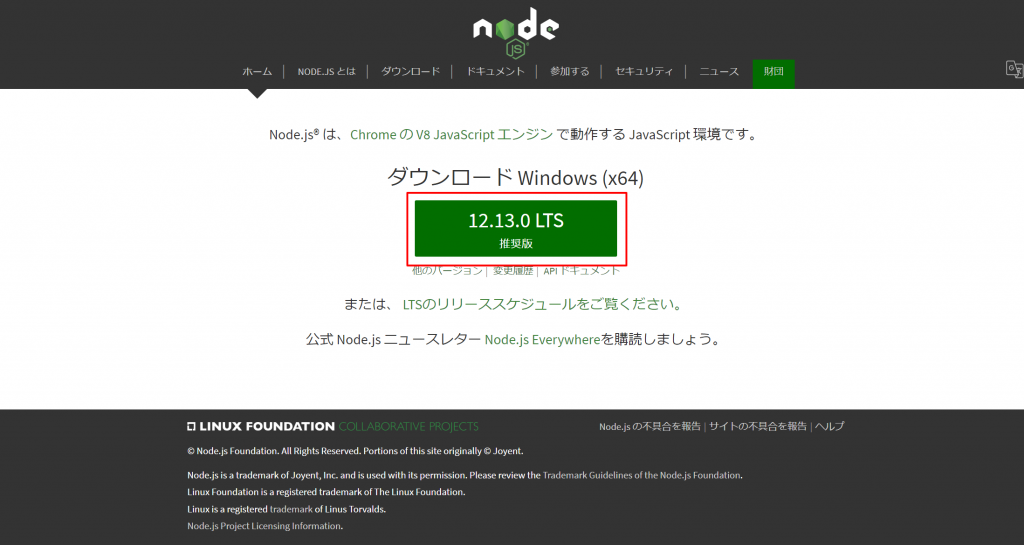
下記URLよりNode.jpのインストーラーをダウンロードしてインストールします。
https://nodejs.org/ja/
インストールは全てデフォルトのままとしました。
コマンドプロンプトで確認します
npm --version
6.12.0
Vue CLIをインストール
npm install -g @vue/cliVue cli-service-globalをインストール
npm install -g @vue/cli-service-globalVisual Studio Codeの設定
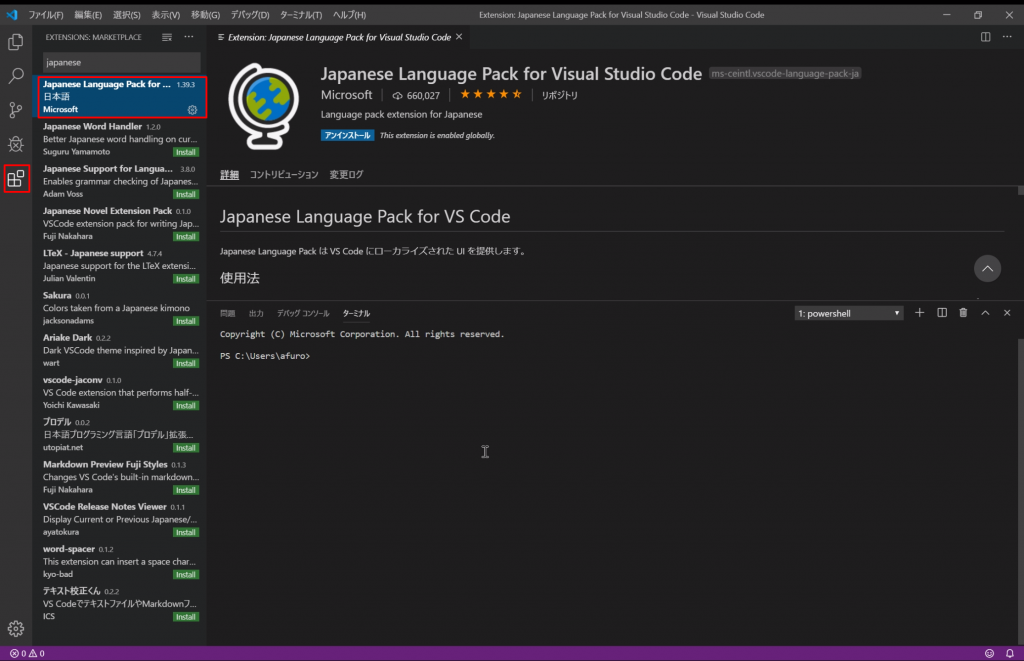
日本語化します。
メニューの左の「Extensions」ボタンを押して、検索窓に “japanese”と検索して Japanese Language Pack for Visual Studio Codeをインストールします。
再起動後すると反映されます。
反映されていない時は、メニューの[View] – [CommandPalette]-[Configure Display Language]で”ja”を選択します。
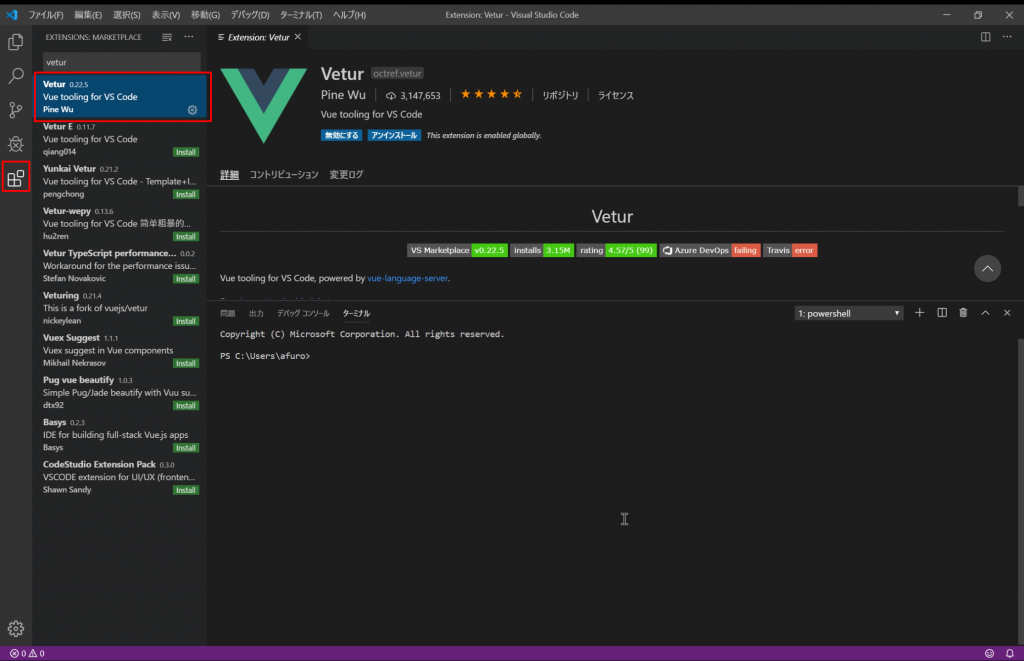
vueファイルをシンタックスハイライトしてくれるVeturをVisual Studio Codeにインストールします
メニューの左の「Extensions」ボタンを押して、検索窓に”Vetur”を検索してインストールします。
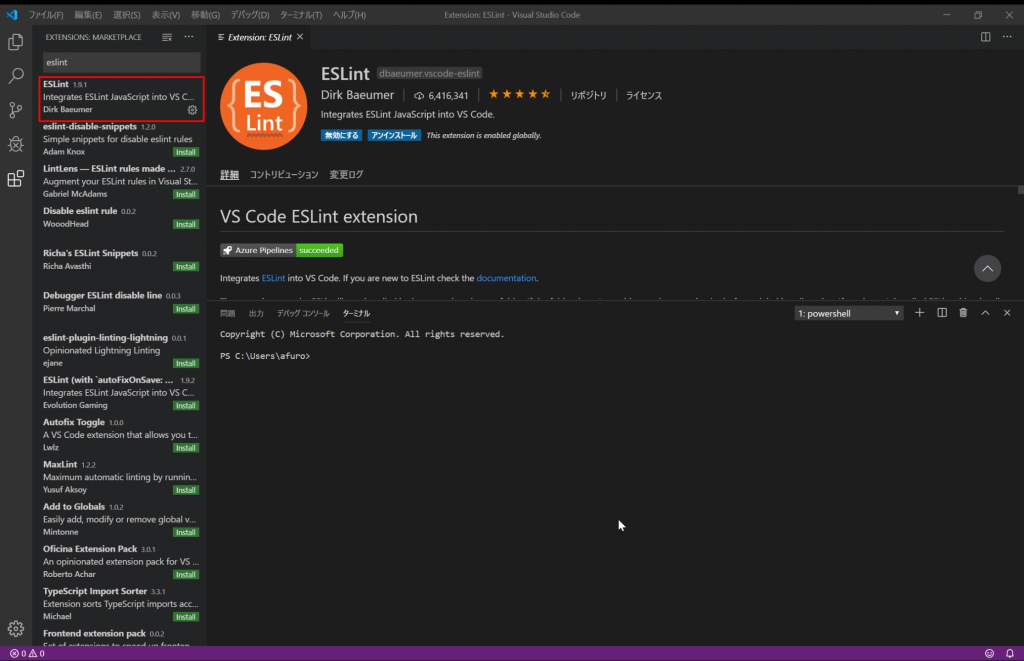
同じ要領で、JavaScriptの構文チェックをしてくれるESLintをインストールします。
Vueのプロジェクトを作成
今回はコマンドではなく、Vueプロジェクトマネージャーを使用します。
下記コマンドを実行すると、ブラウザに プロジェクトマネージャー が表示されます。
vue ui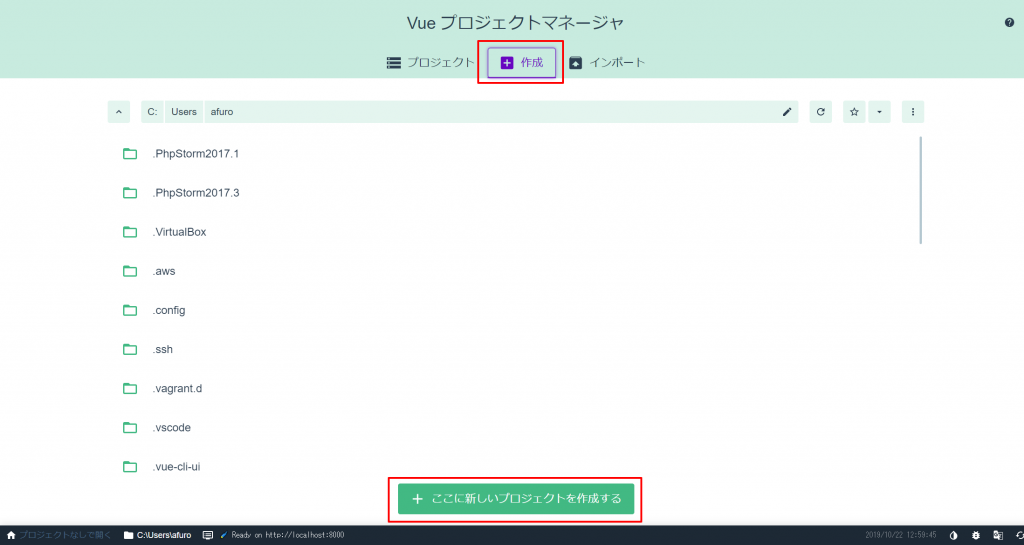
プロジェクトフォルダ名を入力して「次へ」ボタンを押します。
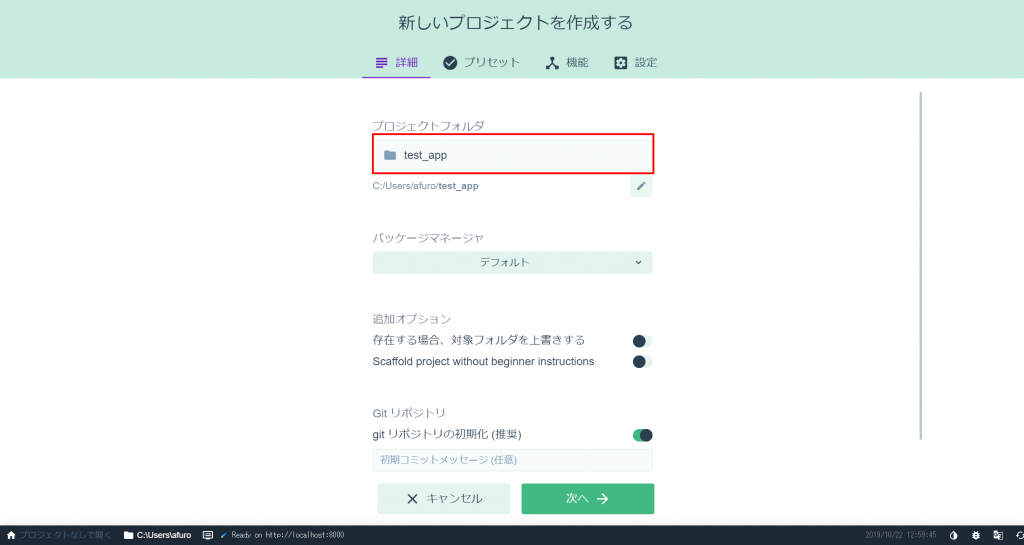
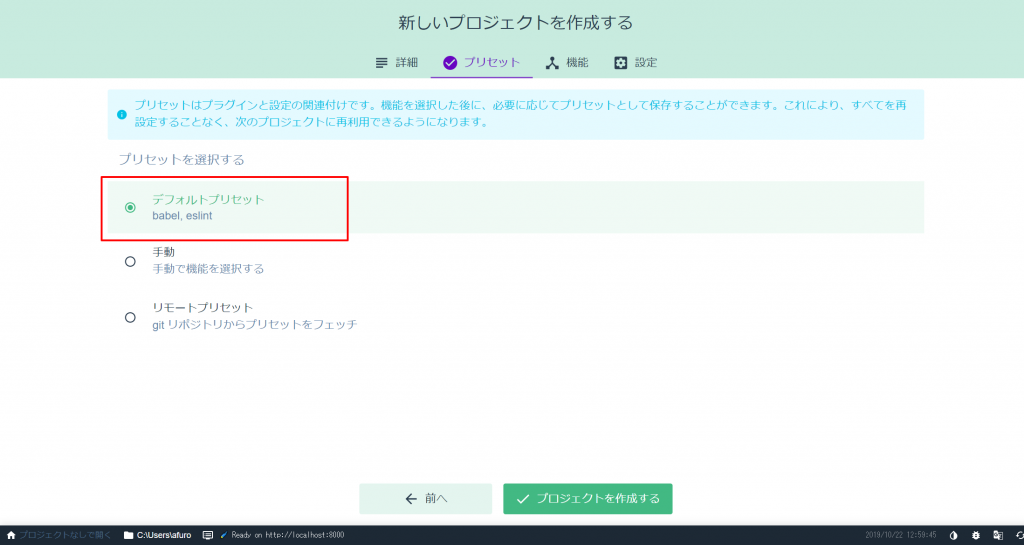
プリセットはデフォルトで進めます。
しばらくするとプロジェクトの作成が完了します。
続いて確認していきます。
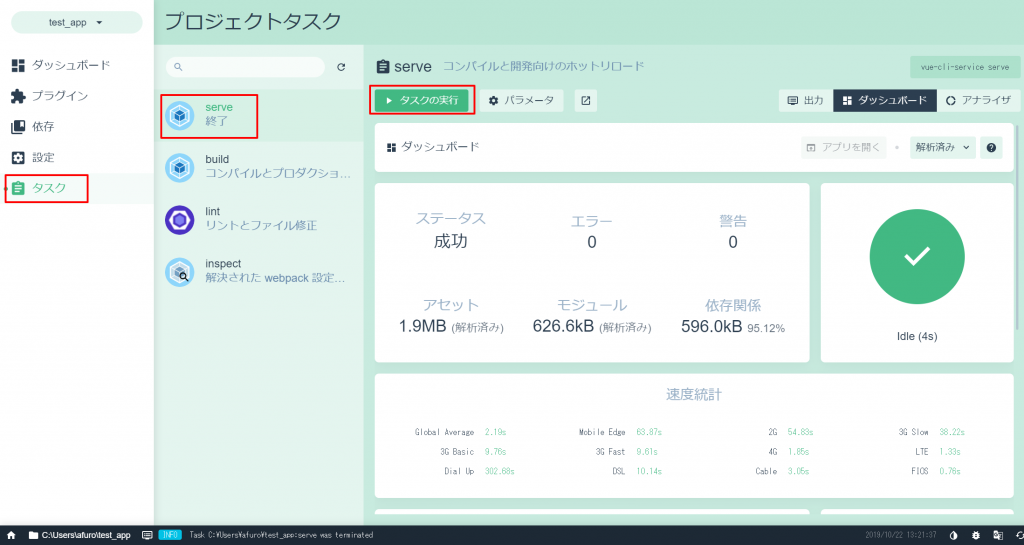
[タスク]-[serve]-[タスクの実行]を選択します。
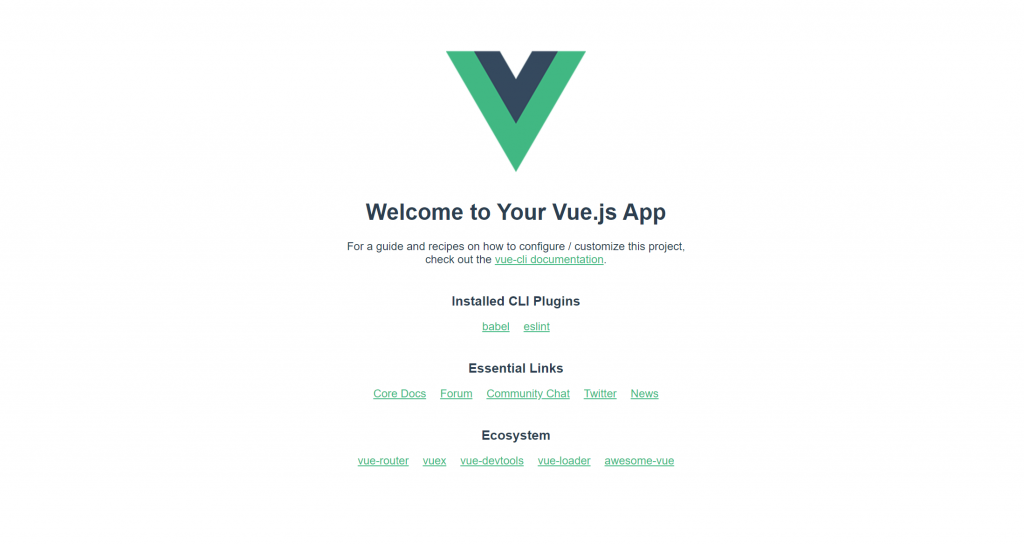
ブラウザで
http://localhost:8080/
にアクセスすると、下記のページが表示されます。
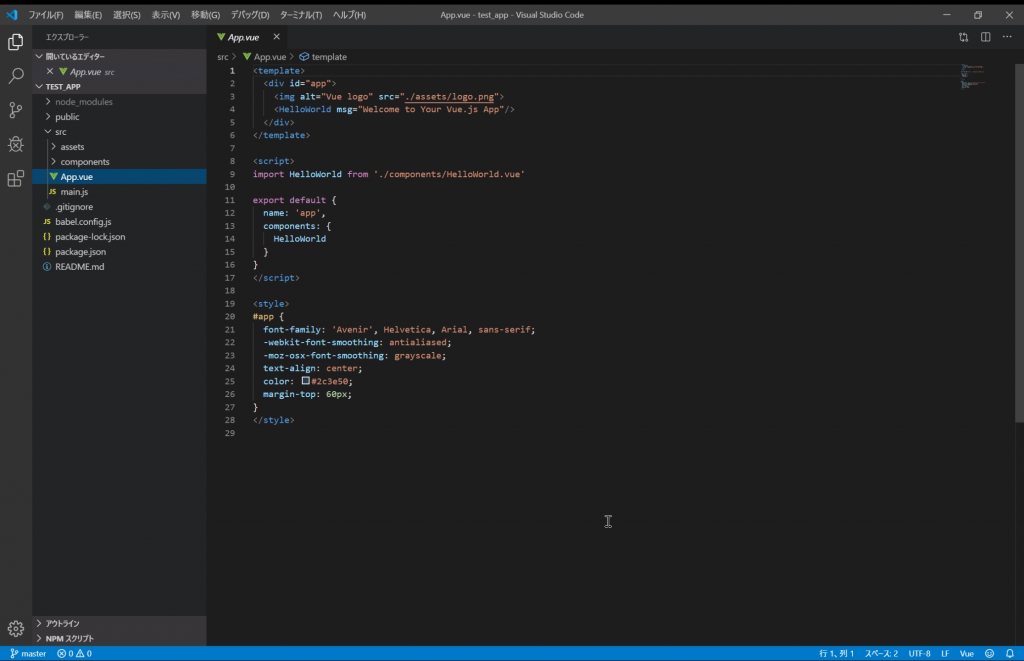
Visual Studio Codeでプロジェクトの読み込み
Visual Studio Codeの[ファイル]-[フォルダを開く]で先ほど作成したプロジェクトフォルダを指定します。
プロジェクトが読み込まれました。