
経緯
Configルールの修復機能で使えそうなパターンなのでやってみました。
設定
IAMポリシーの作成
セキュリティポリシーから指定されたルールを削除するポリシー(RevokeSecurityGroupIngress)を作成します。
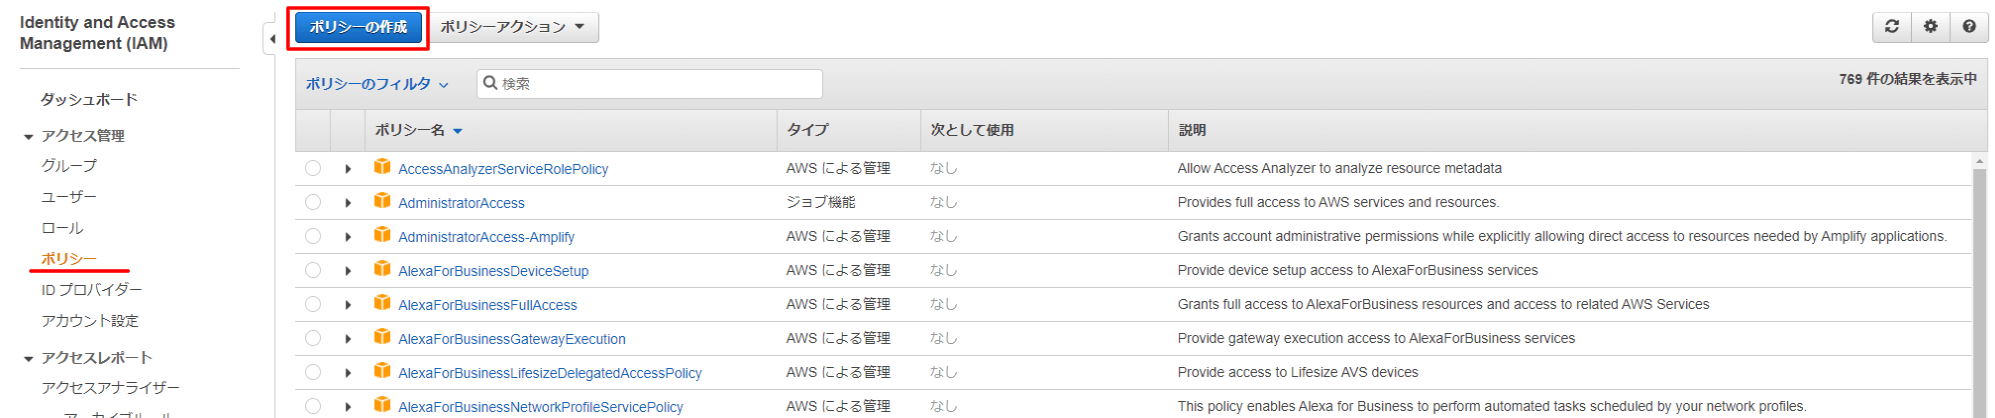
IAMサービスより、[ポリシー]メニューを選択して「ポリシーの作成」をクリックします。
ビジュアルエディタでポリシーを作成します。
下記の内容でポリシーを作成します。
[サービス]:EC2
[アクション]:RevokeSecurityGroupIngress
[リソース]:全て
[名前]:RevokeSecurityGroupIngress

IAM Roleの作成
先ほど作成したポリシーをロールに割り当てます。
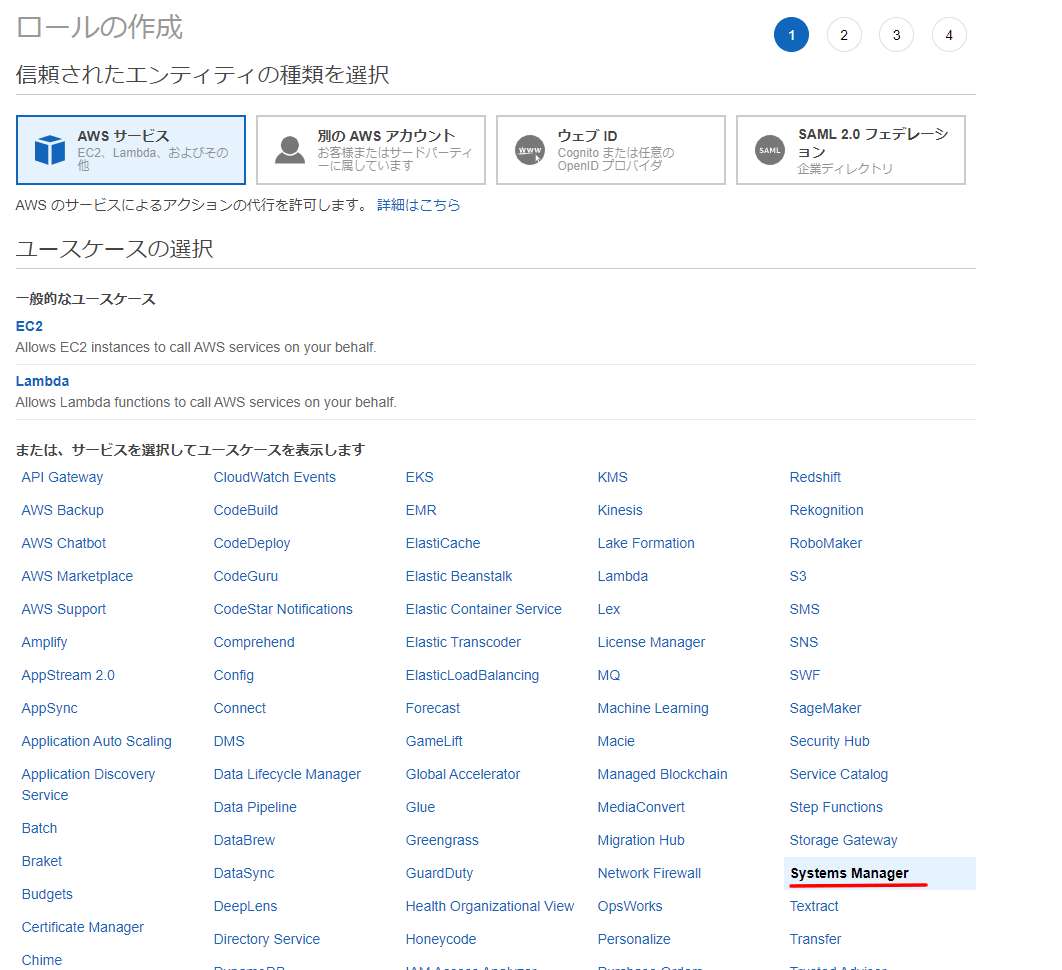
IAMサービスより、[ロール]メニューを選択して「ロールの作成」をクリックします。

[AWSサービス]、[SystemManager]を選択します。
(SSMのAutomation機能で修復する為)
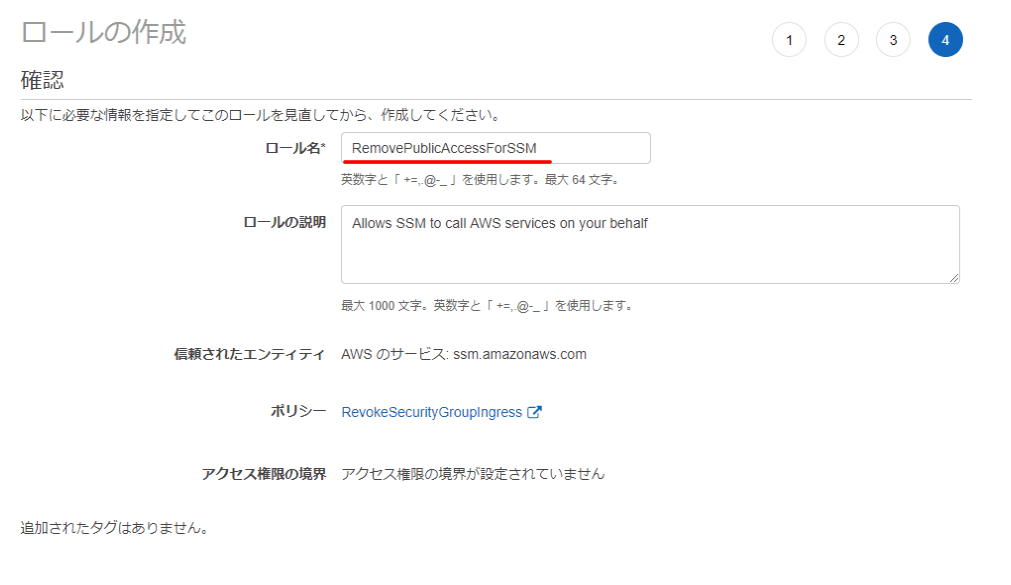
作成済みのポリシー(RevokeSecurityGroupIngress)を選択します。

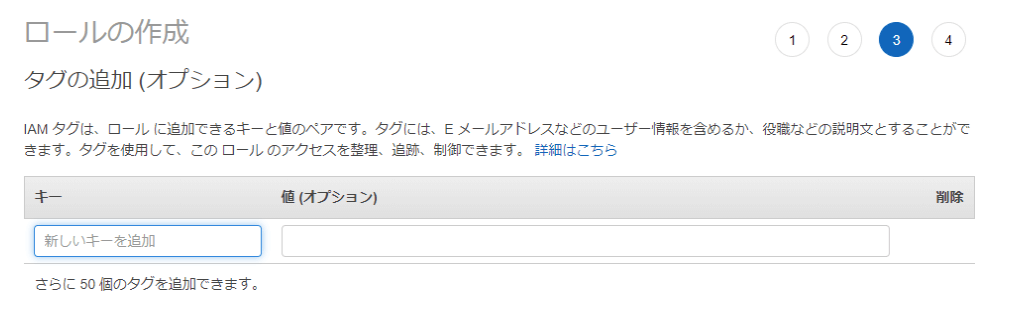
タグは何も指定せず次へ
ロール名は”RemovePublicAccessForSSM”として作成しました。
Configルールの作成
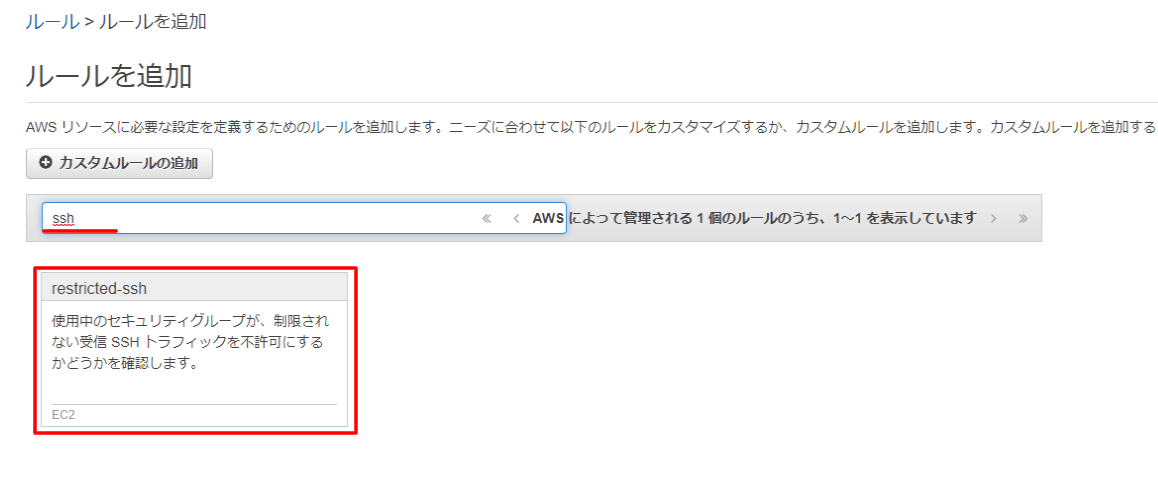
Configサービスの[ルール]メニューより「ルールの追加」ボタンをクリックします。

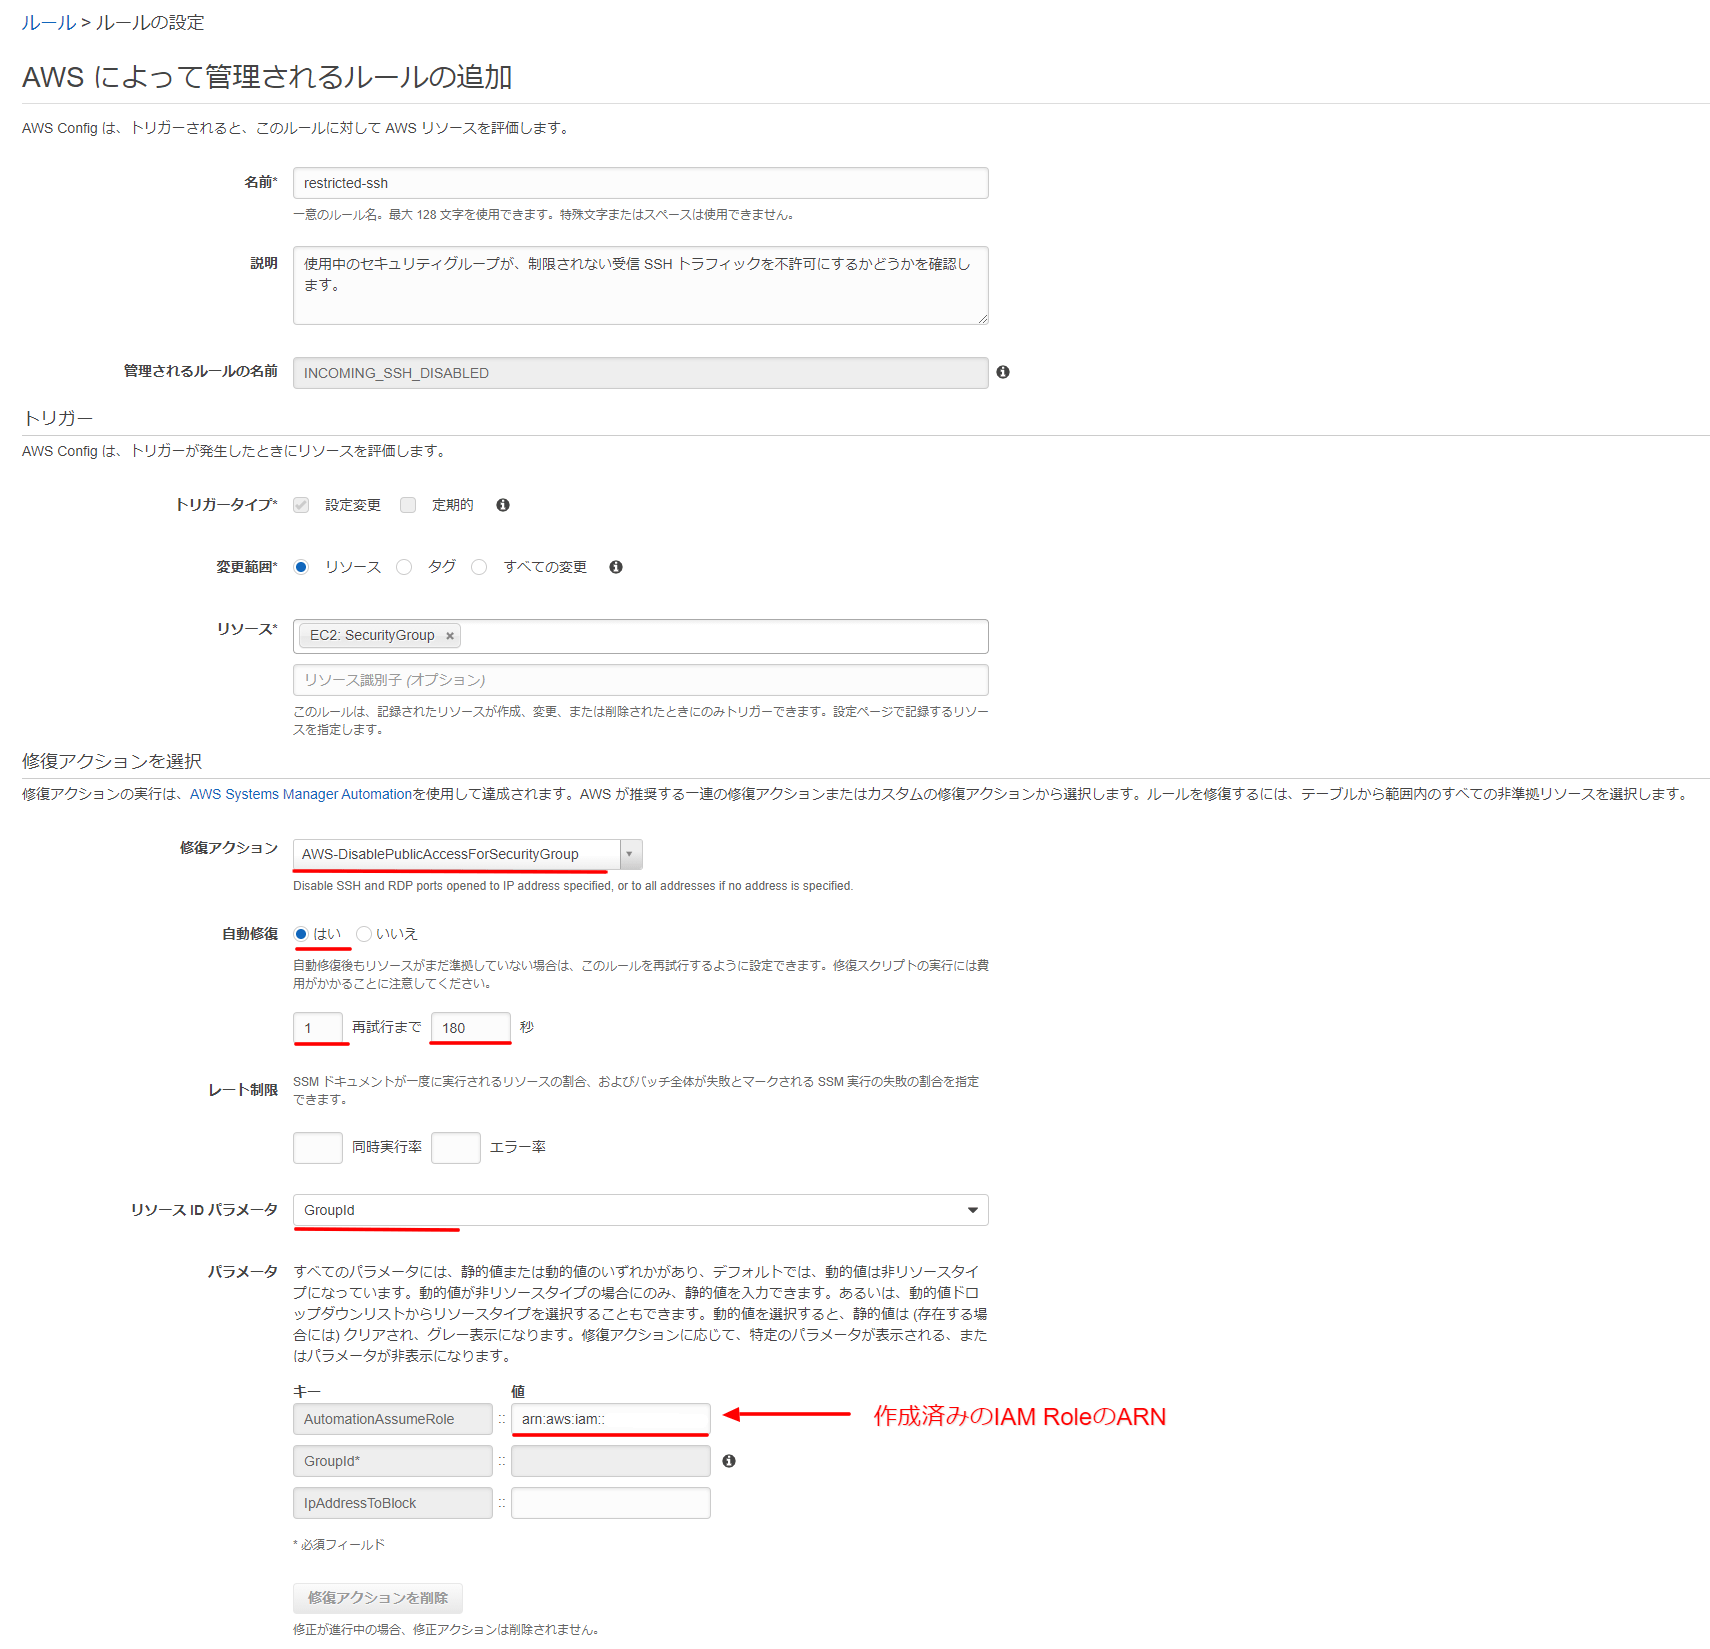
“restricted-ssh”を選択します。
[修復アクション]:AWS-DisablePublicAccessForSecurityGroup
[自動修復]:はい、1再試行まで180秒
[リソースIDパラメタ]:GroupId
[パラメータ(GroupId)]:作成したIAM RoleのARN
GroupId(今回であれば修正すべきセキュリティグループのID)をパラメタとしてSSM Automationに渡します。
また、セキュリティグループを修正するためのIAM Role ARNをパラメタとして指定します。
確認
セキュリティグループの作成
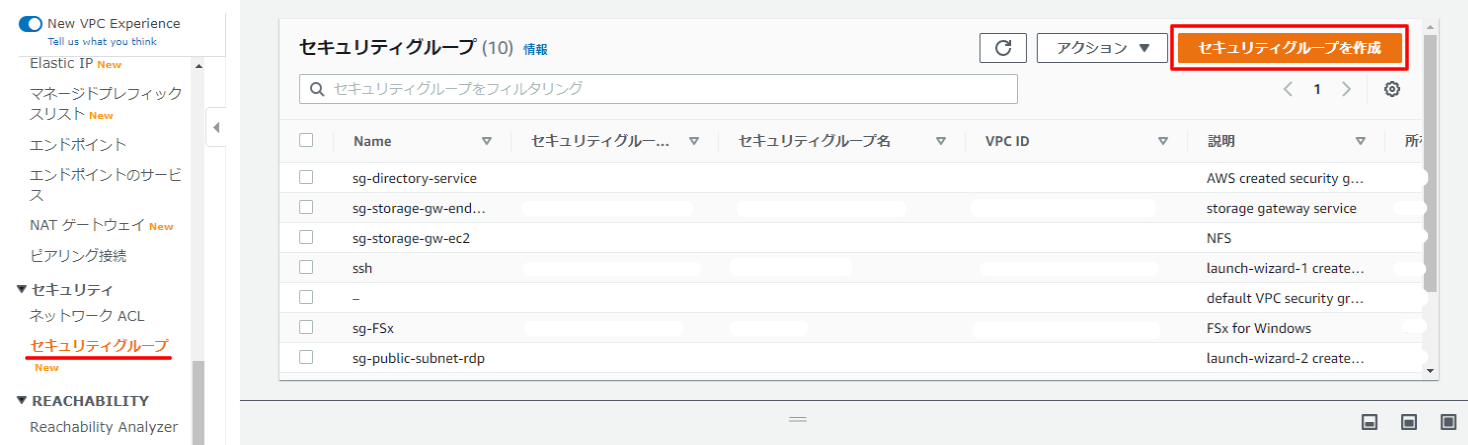
それではテスト用のセキュリティグループを作成します。
VPCサービスより、[セキュリティグループ]より「セキュリティグループを作成」ボタンをクリックします。
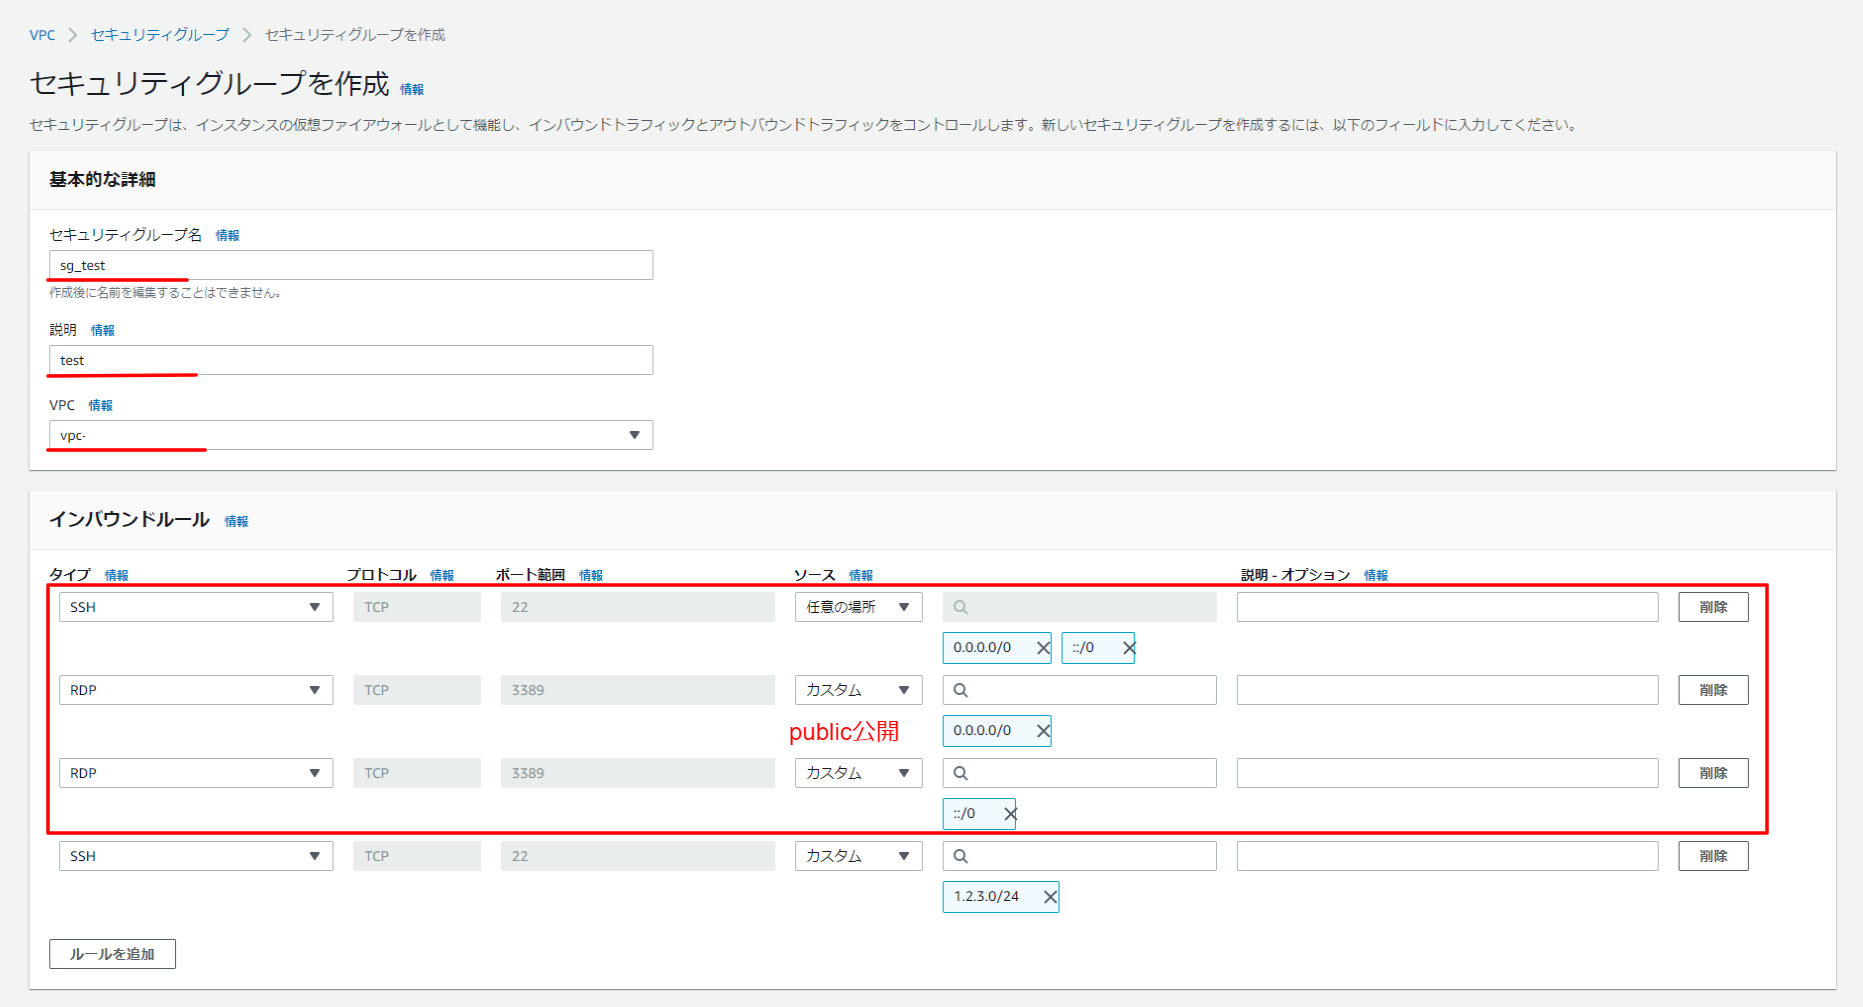
下記の項目を入力してセキュリティグループ作成します。
[セキュリティグループ名]:sg_test
[説明]:test
[VPC]:適時選択してください
インバウンドは下記を登録しました。
- SSH 0.0.0.0/0,::/0
- RDP 0.0.0.0
- RDP ,::/0
- SSH 1.2.3.0/24
Configルールの確認
Configサービスのルールページで暫くすると”restricted-ssh”が非準拠となりました。

”restricted-ssh”の詳細画面で確認すると、[アクションステータス]項目が”アクションが正常に実行されました”と表示されました。

セキュリティグループの確認
セキュリティグループも確認します。
パブリック公開されていたSSHとRDPが削除され、特定IPからのSSH接続だけ許可されてました。
