経緯
Work SpacesのVDI(windows)からアクセスできるファイルサーバーを検討していました。
マネージドサービスで考えると真っ先にAmazon FSx for Windowsが浮かんだのですが、ファイルの監査ログがとれないようですのです・・・(2020/10現在)
そこで今回は、Storage Gatewayを使用してS3にファイルを保存する方法とします。
Storage Gateway用EC2のキャッシュを使うとはいえ、キャッシュにないファイルはS3から取り出すため取り出しに少し時間がかかります。
ですのでプログラムから頻繁にアクセスするような要件の時はこの構成はおすすめできません。アーカイブ的な用途になると思います。
S3バケットの作成
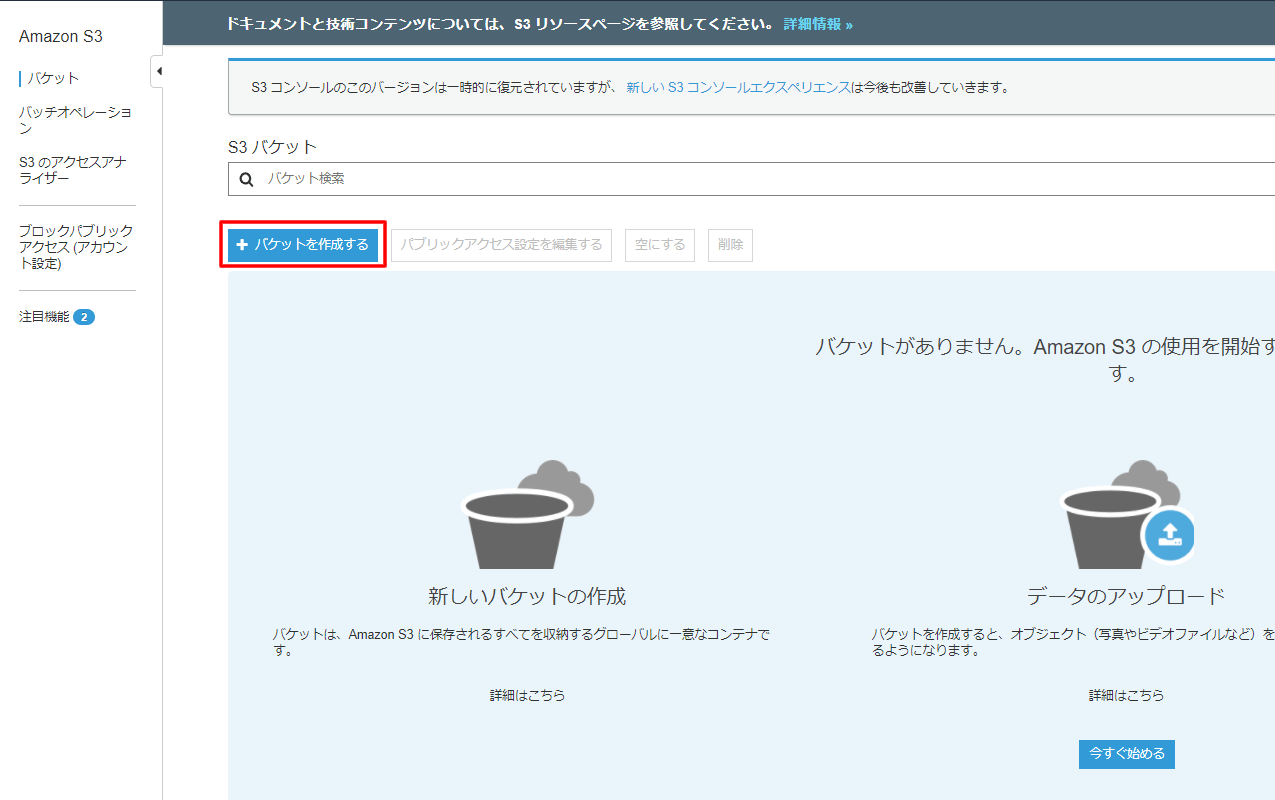
Storage Gatewayで使用するS3バケットを作成します。
S3メニューより「バケットを作成する」をクリックします。
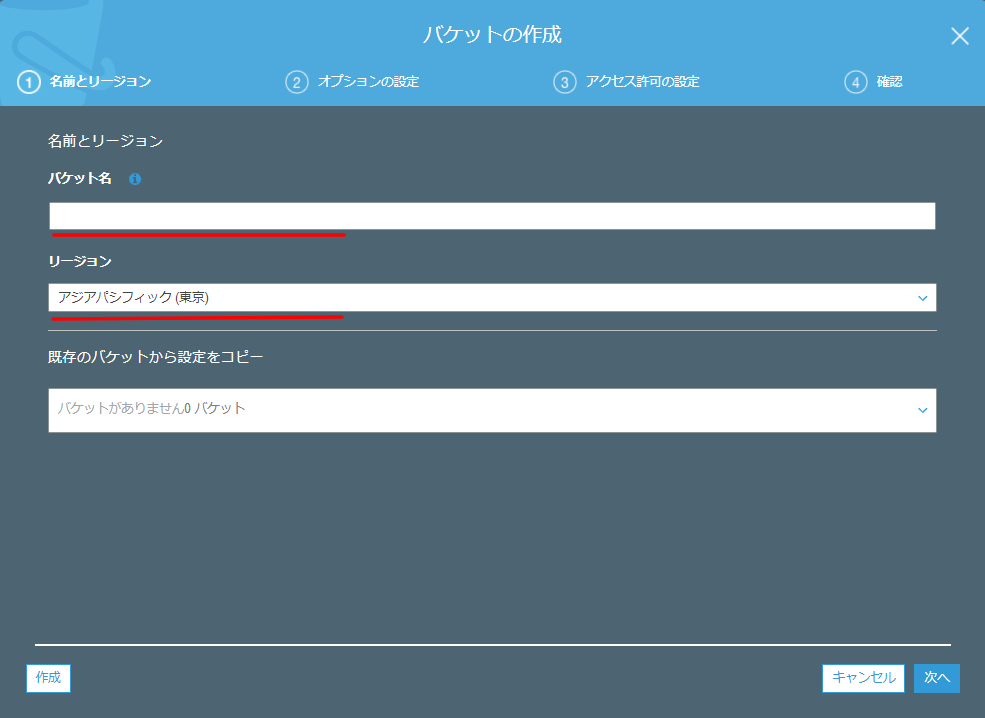
[バケット名][リージョン]を選択してバケットを作成します。
EndPointの作成
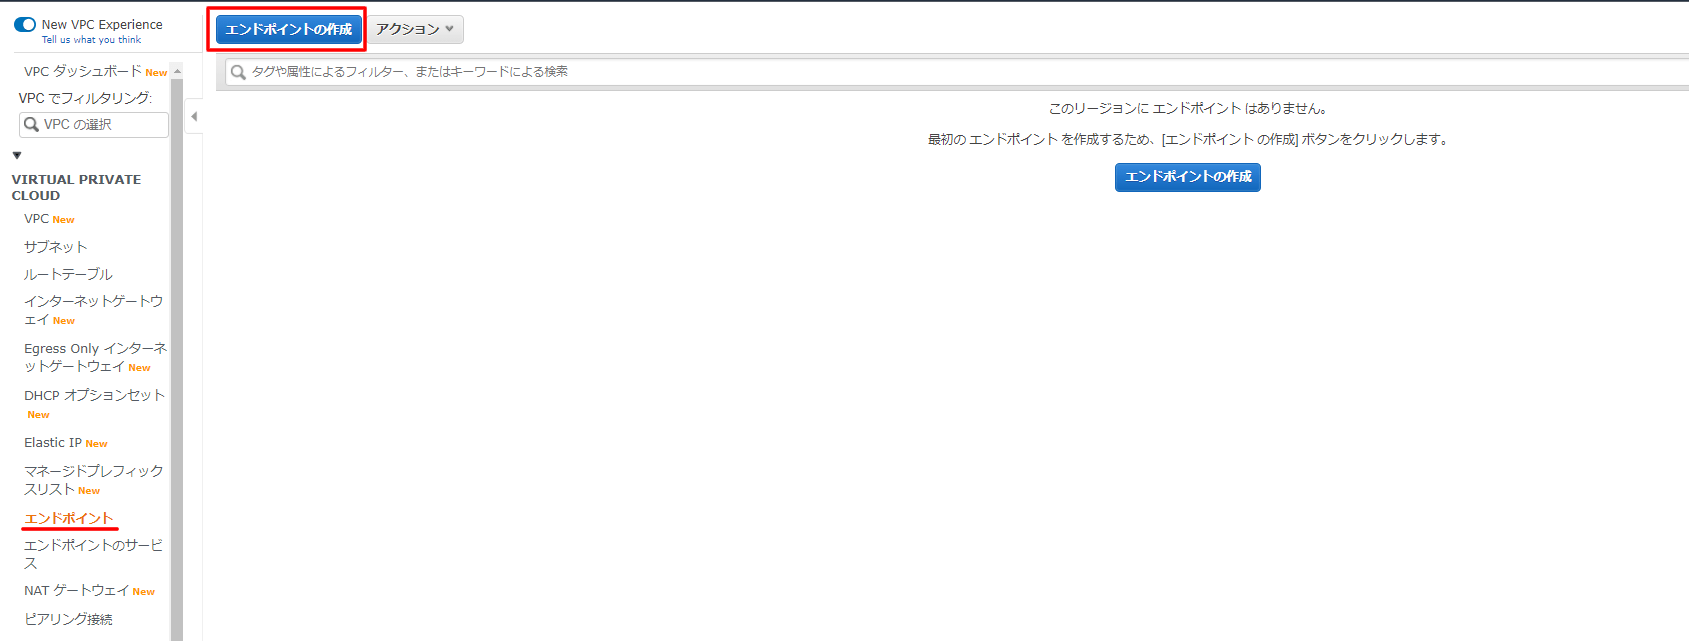
後からでも作成できるのですが、忙しくなるので先にStorage Gateway用のエンドポイントを作成します。
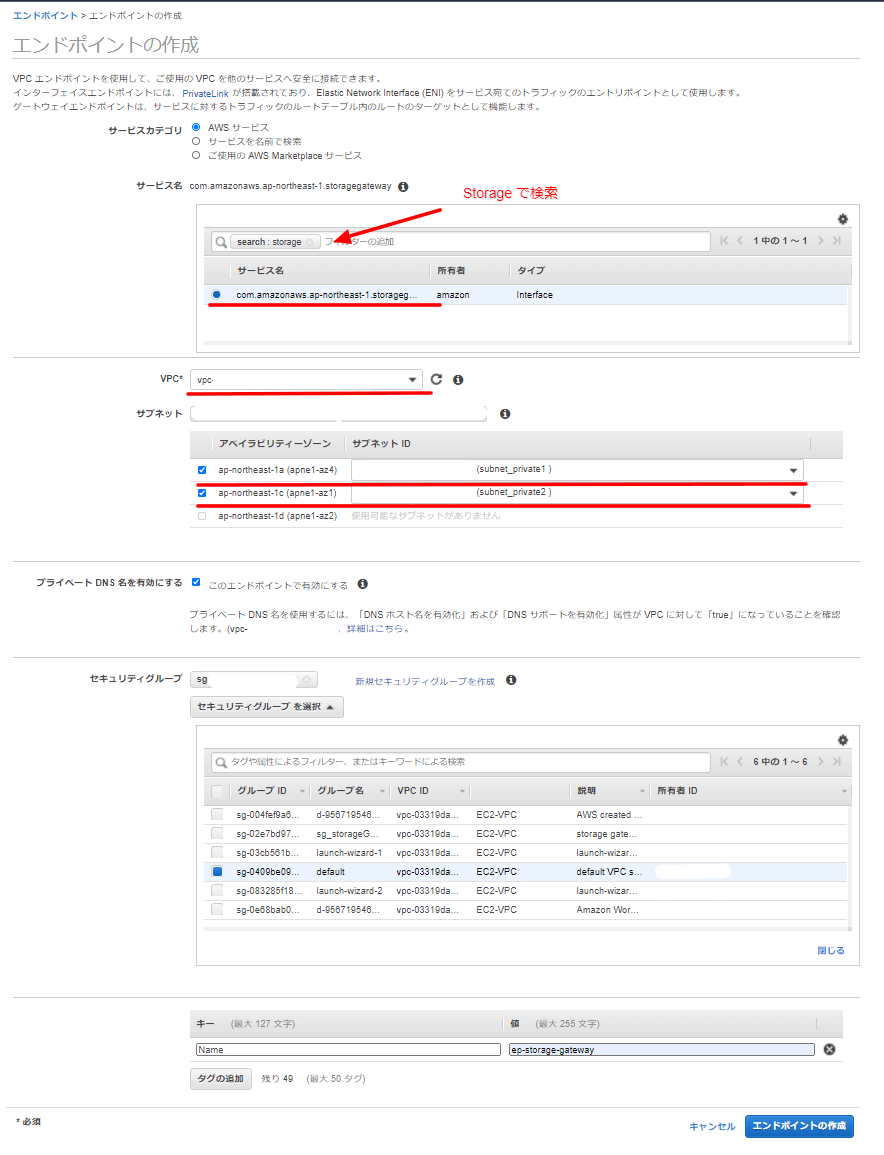
VPCサービスのエンドポイントメニューより「エンドポイントの作成」ボタンをクリックします。
サービス名検索で”storage”と検索して、”storage gateway”を選択します。
[VPC]と[サブネット]を選択します。
[セキュリティーグループ]は次のTCPポートのインバウンドを許可する必要があります。
参考)Storage Gateway 用の VPC エンドポイントの作成
下記のインバウンドを許可
- TCP 443
- TCP 1026
- TCP 1027
- TCP 1028
- TCP 1031
- TCP 2222
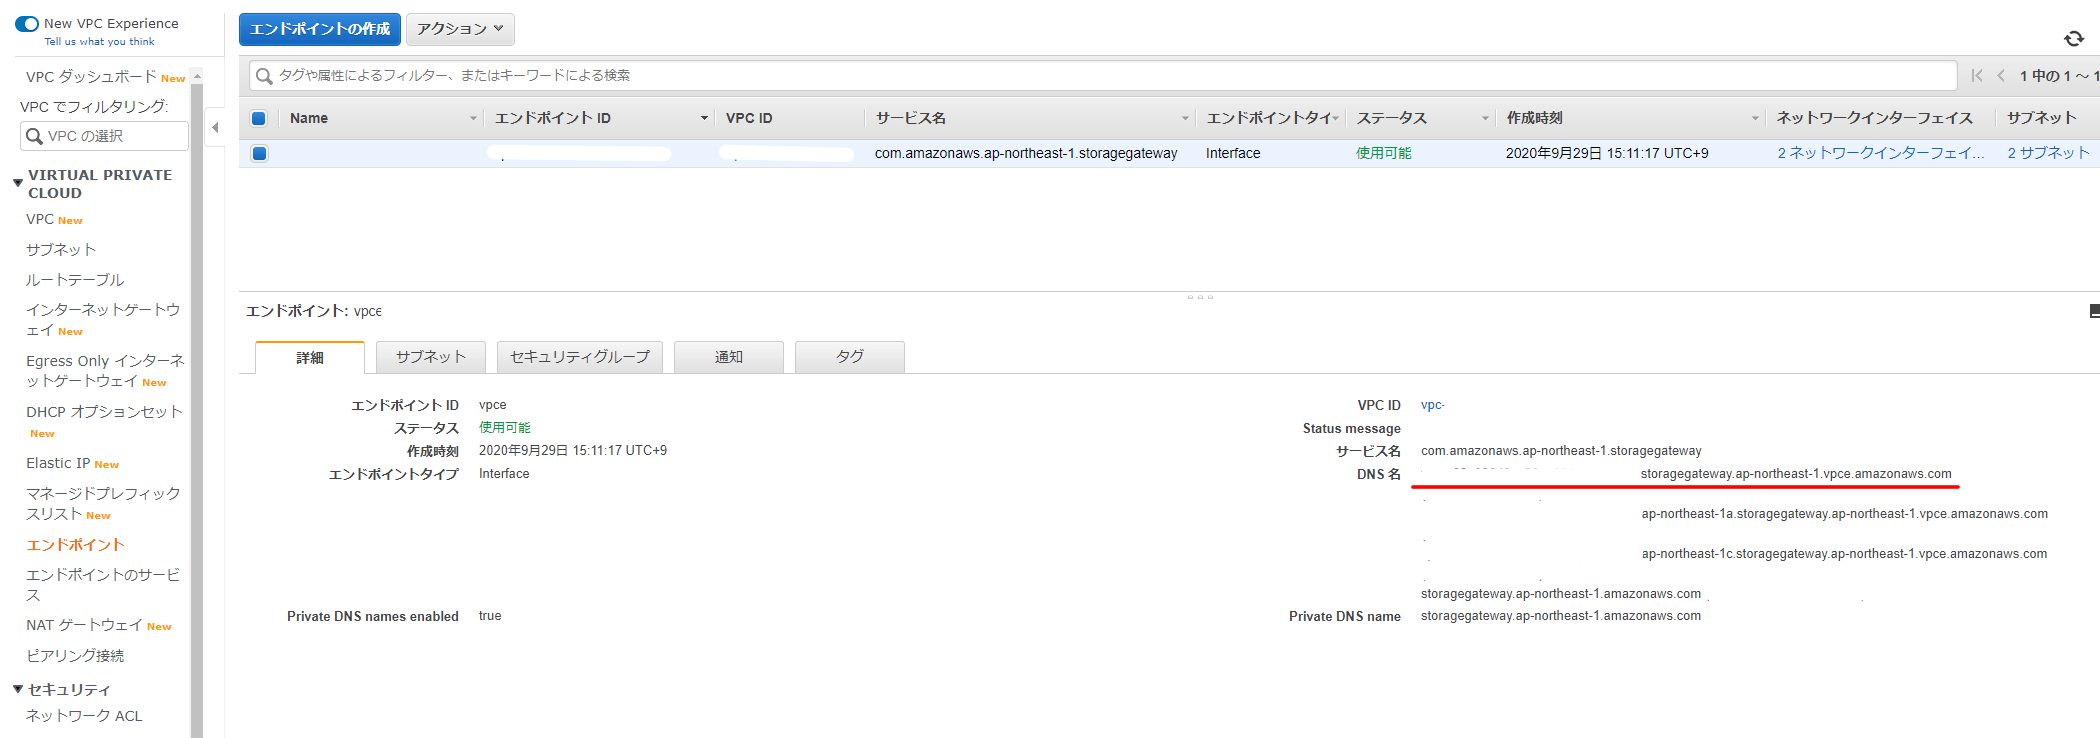
エンドポイントが作成されたら、後で使うのでDNS名をコピーしておきます。
※DNS名は複数記載されてますが、アベイラビリティーゾーンの記載されていない最初のものです。
Storage Gatewayの作成
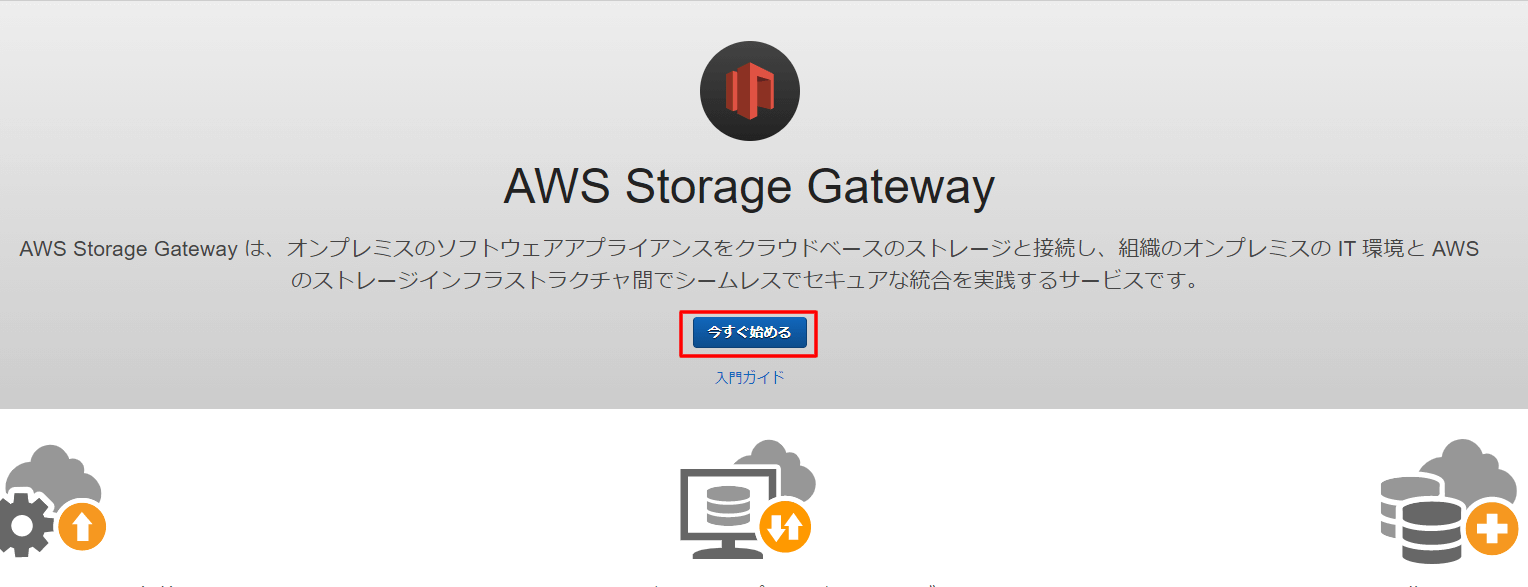
“Storage Gateway”メニューより「今すぐ始める」ボタンをクリック
“ファイルゲートウェイ”を選択

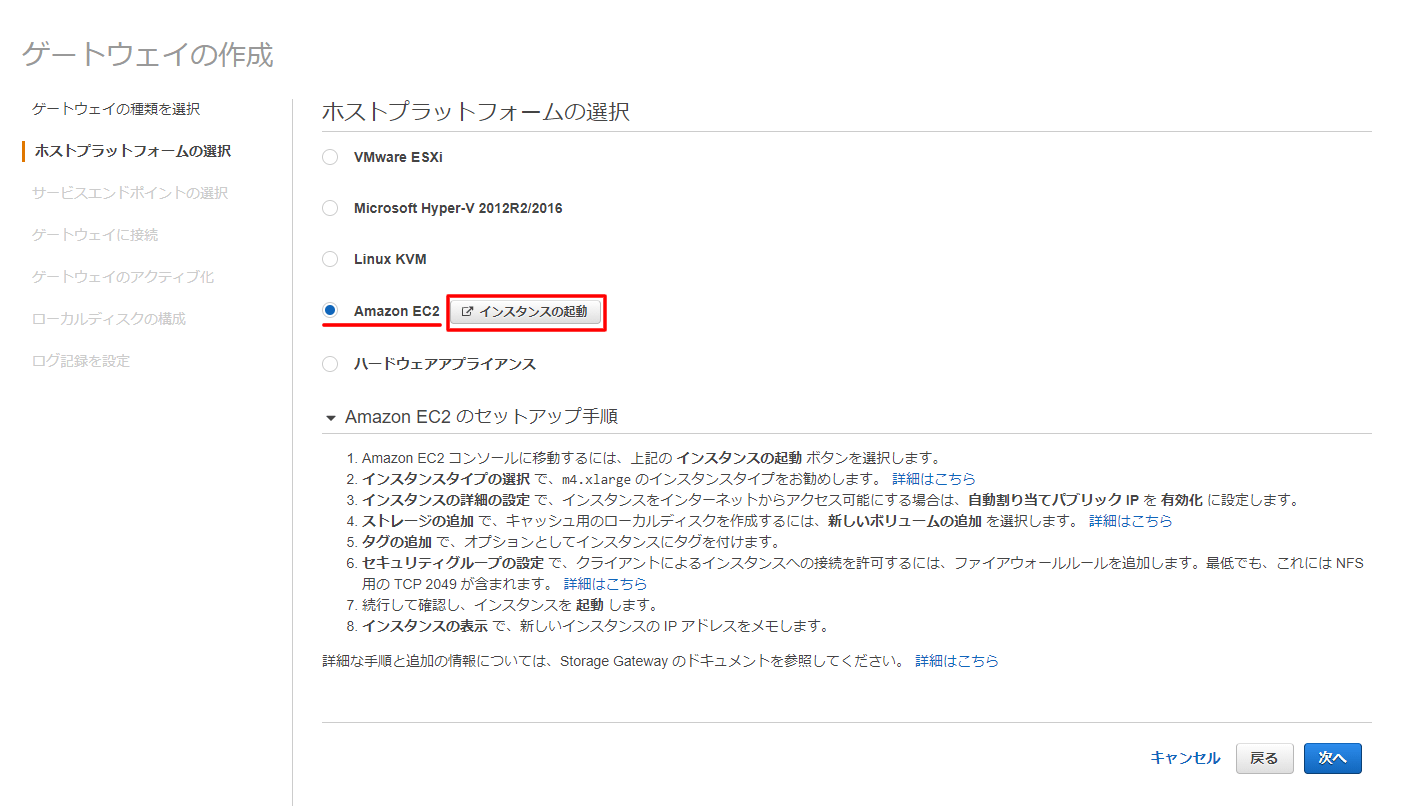
StorageGatewayのEC2インスタンスを作成
“Amazon EC2″を選択して、「インスタンスの起動」ボタンをクリックします。
インスタンスを選択します。
今回は”m4.large”を選択しました。(ちなみにm4.xlargeを推奨との事です)
「次のステップ:インスタンスの詳細の設定」をクリックします。

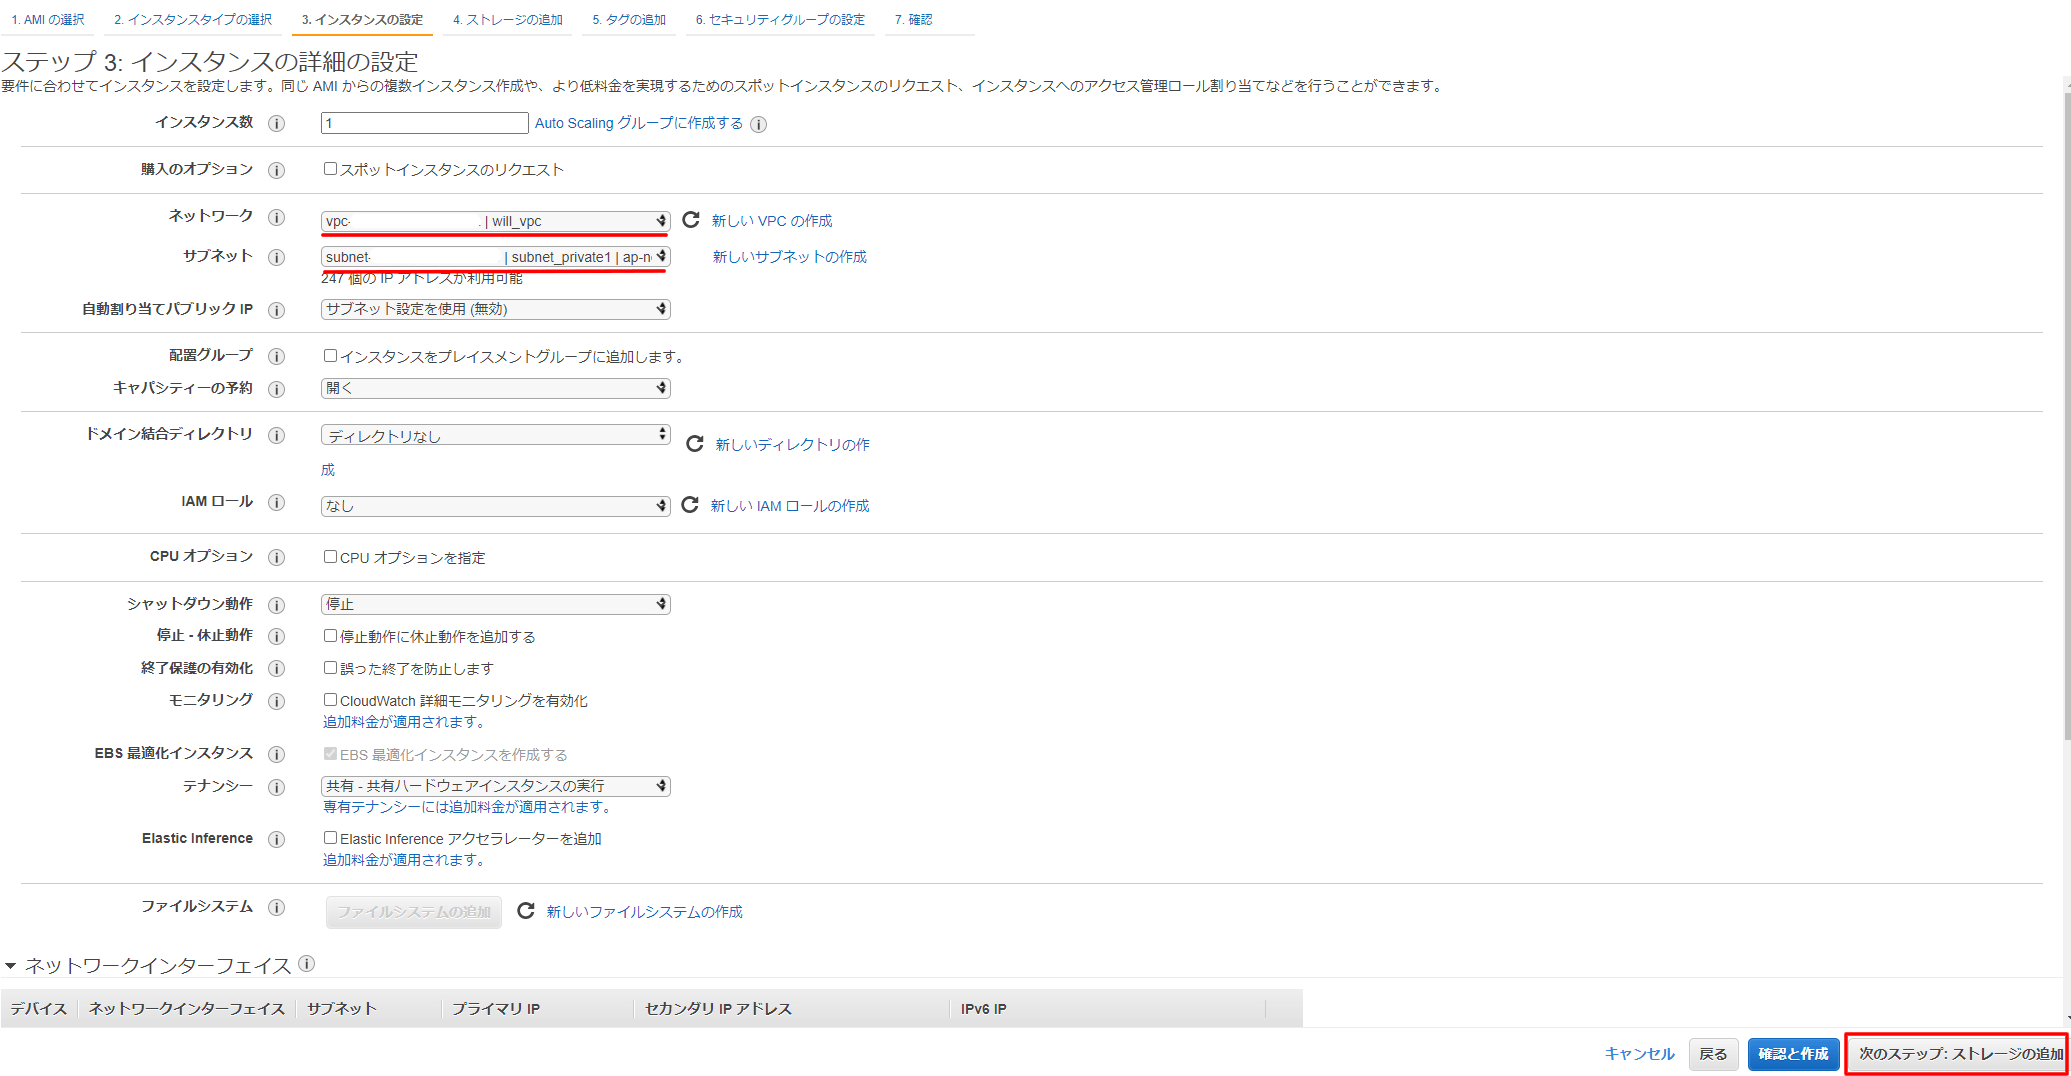
インスタンスの詳細設定をします。
今回は[ネットワーク][サブネット]を設定しました。
「次のステップ:ストレージの追加」をクリックします。
読み書きに使用するキャッシュに使用するディスクを追加します。
今回は32Gibとしました。
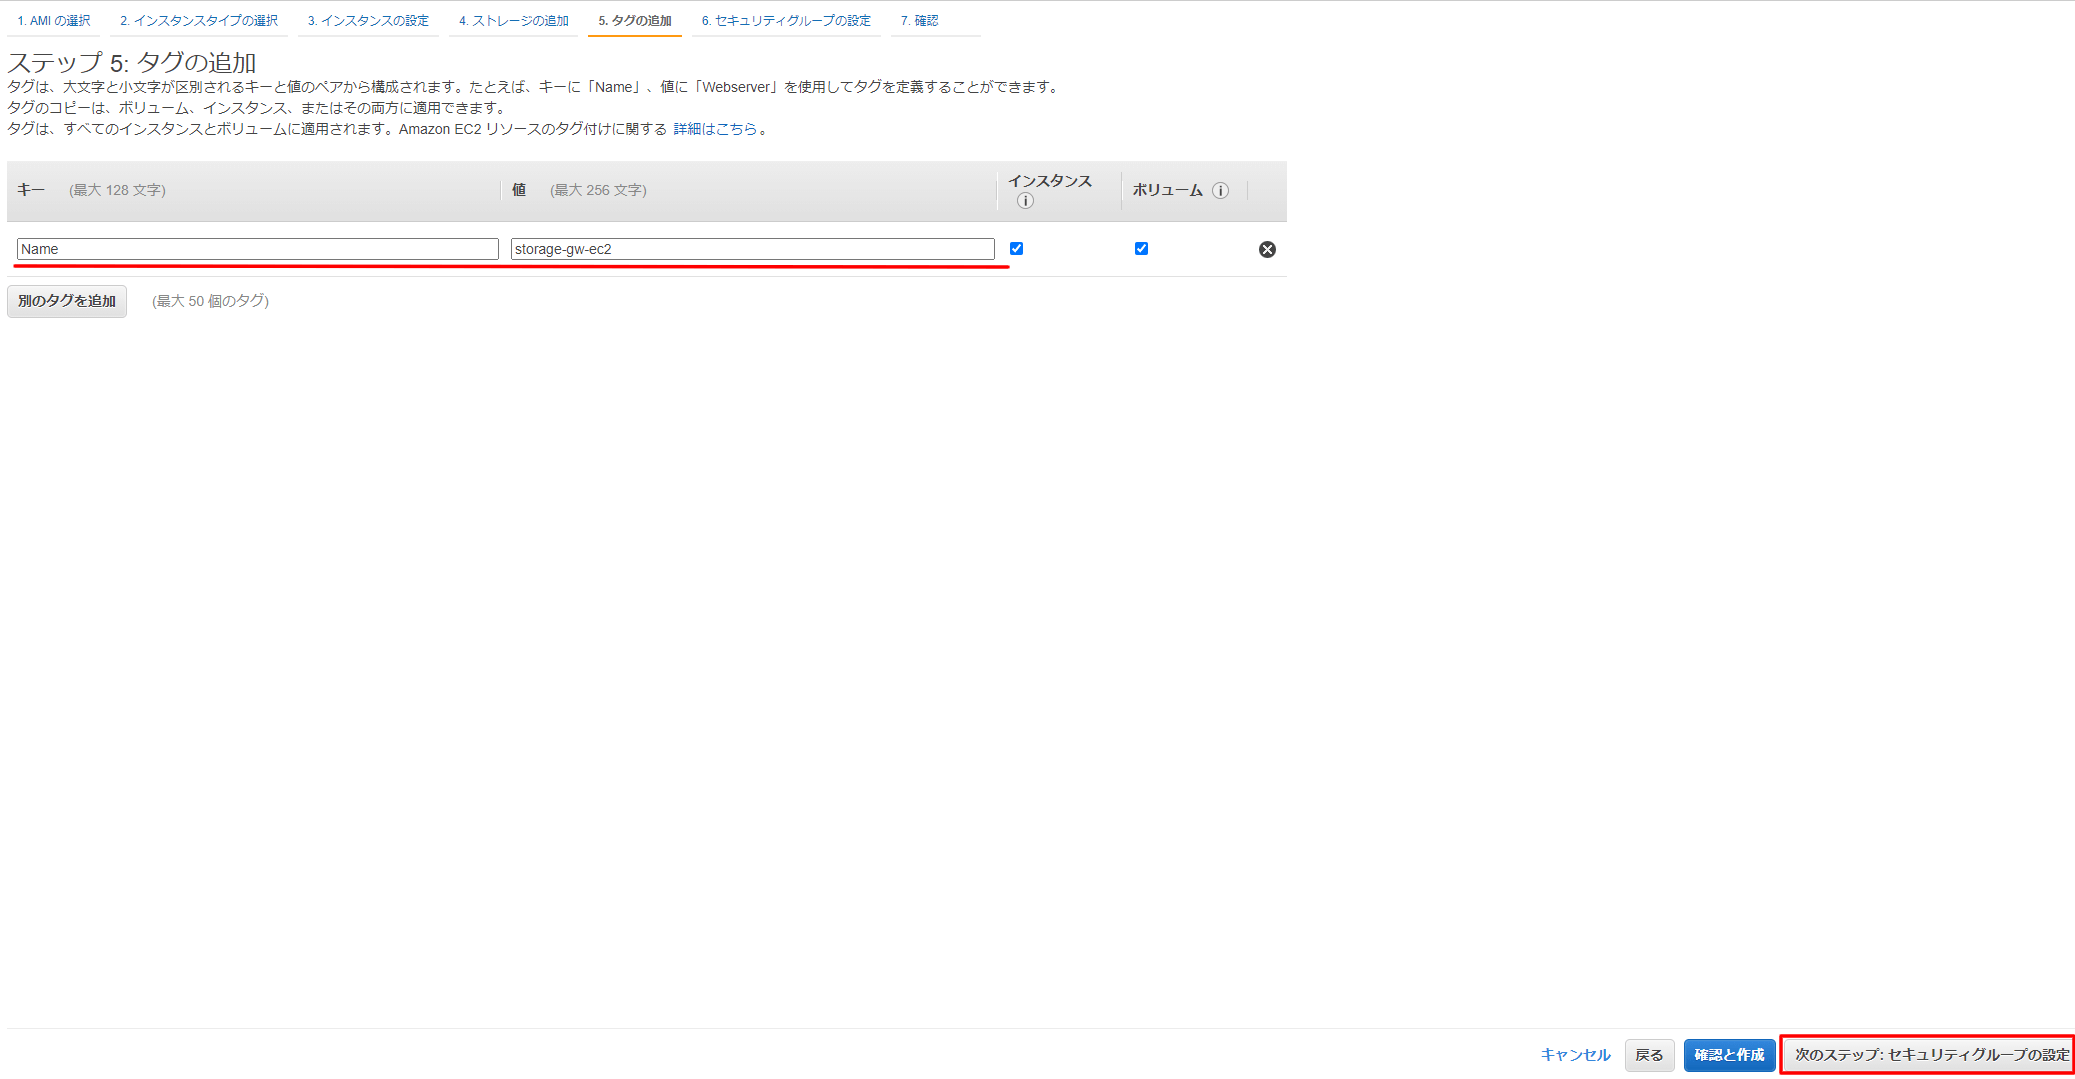
「次のステップ:タグの追加」をクリックします。

タグを入力して、「次のステップ:セキュリティグループの設定」をクリックします。
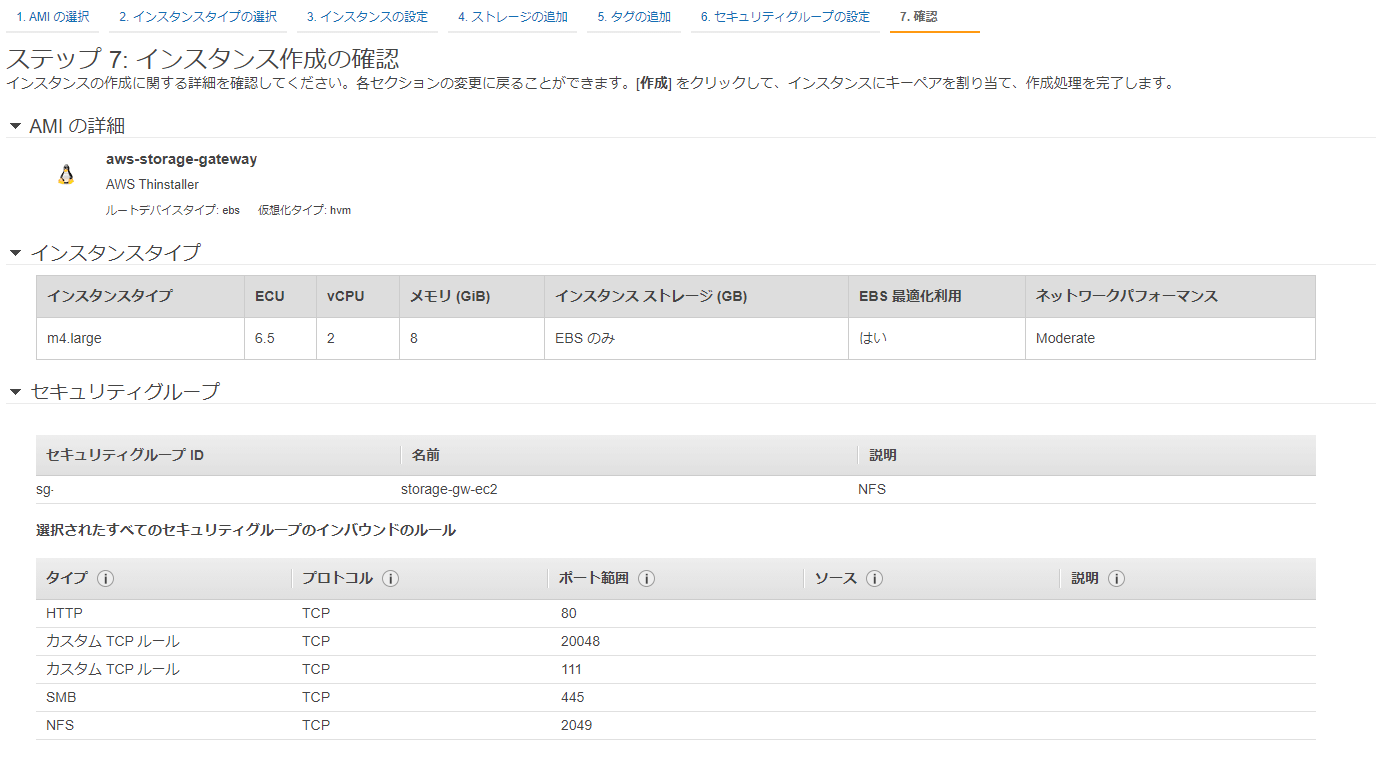
セキュリティーグループでは下記のTCPインバウンドを許可する必要があります。
参考)Requirements – AWS Storage Gateway
下記のインバウンドを許可
- TCP 80
- TCP 2049
- TCP 111
- TCP 20048
- TCP 445
※また、後ほど設定するのですが、ファイル共有にSMBを使用するので、インバウンドTCP 445を許可しておきます。

内容を確認して起動します。
作成したEC2インスタンスのプライベートIPアドレスは後ほど使用するのでコピーしておきます。
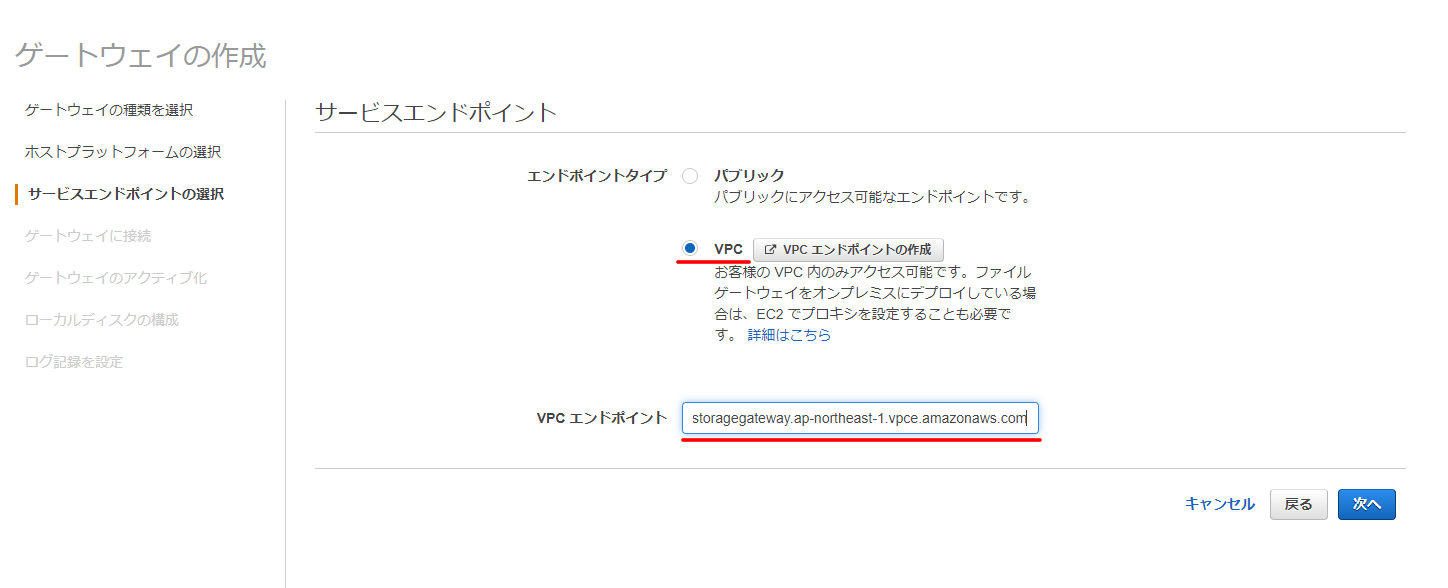
StorageGateway作成の続き
サービスエンドポイントは作成済みなので、
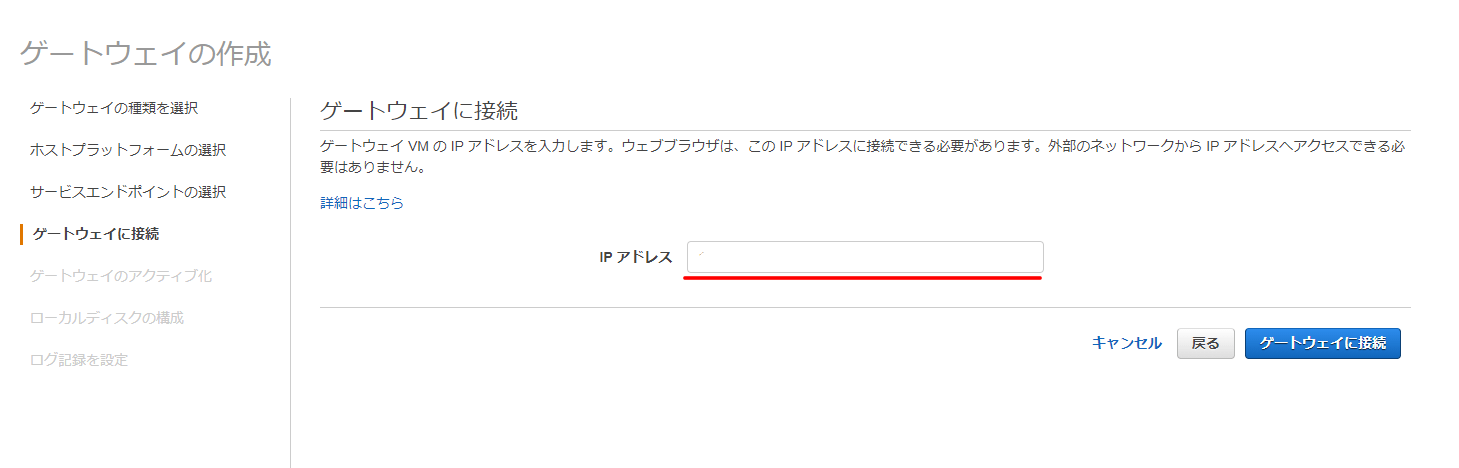
[エンドポイントタイプ]にVPCを選択して、[VPCエンドポイント]にコピーしておいたDNS名を入力します。
EC2インスタンスのプライベートIPアドレスを入力します。
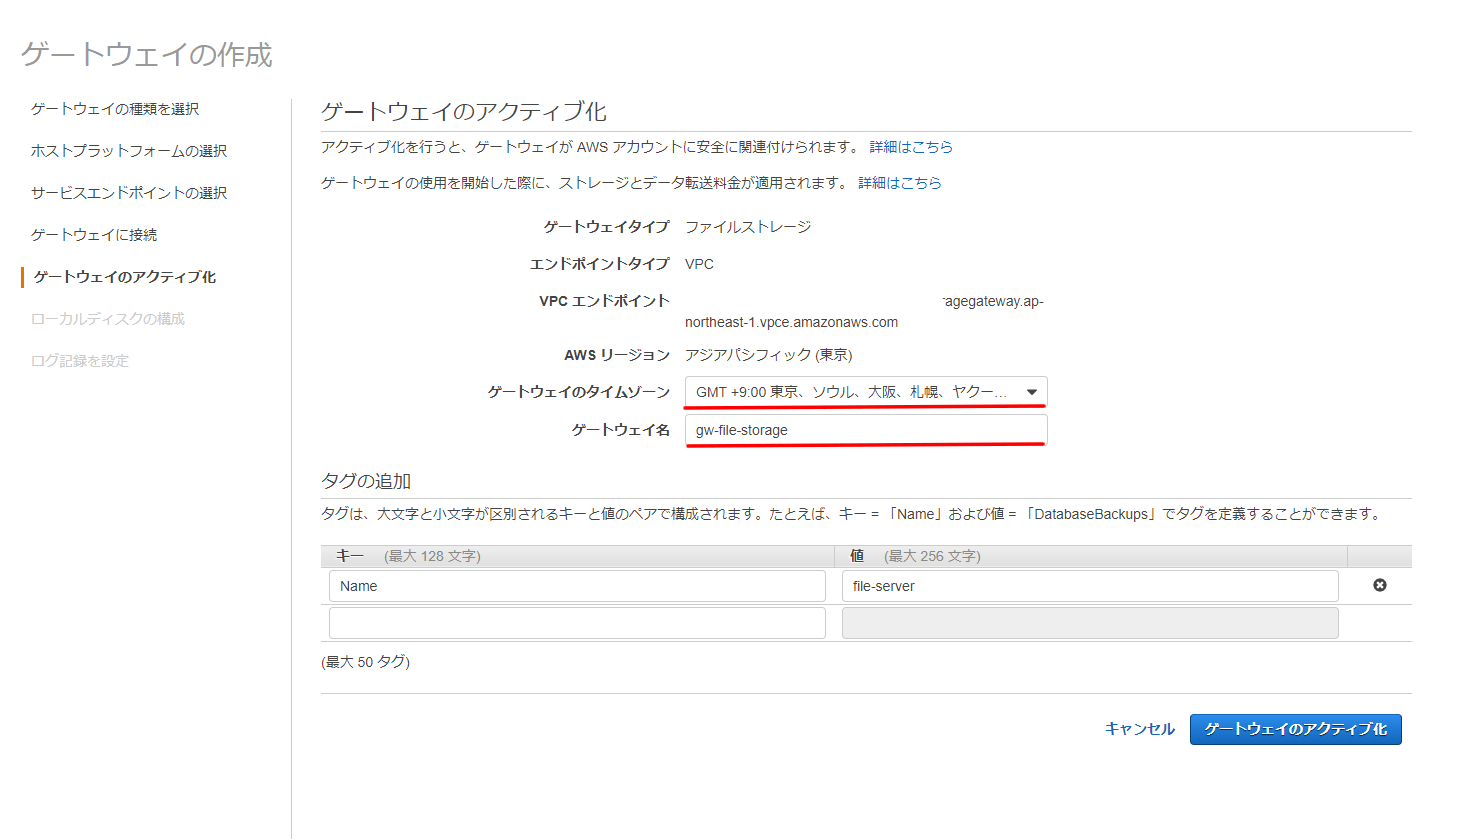
[ファイルゲートウェイのタイムゾーン]
[ゲートウェイ名]
を入力します。
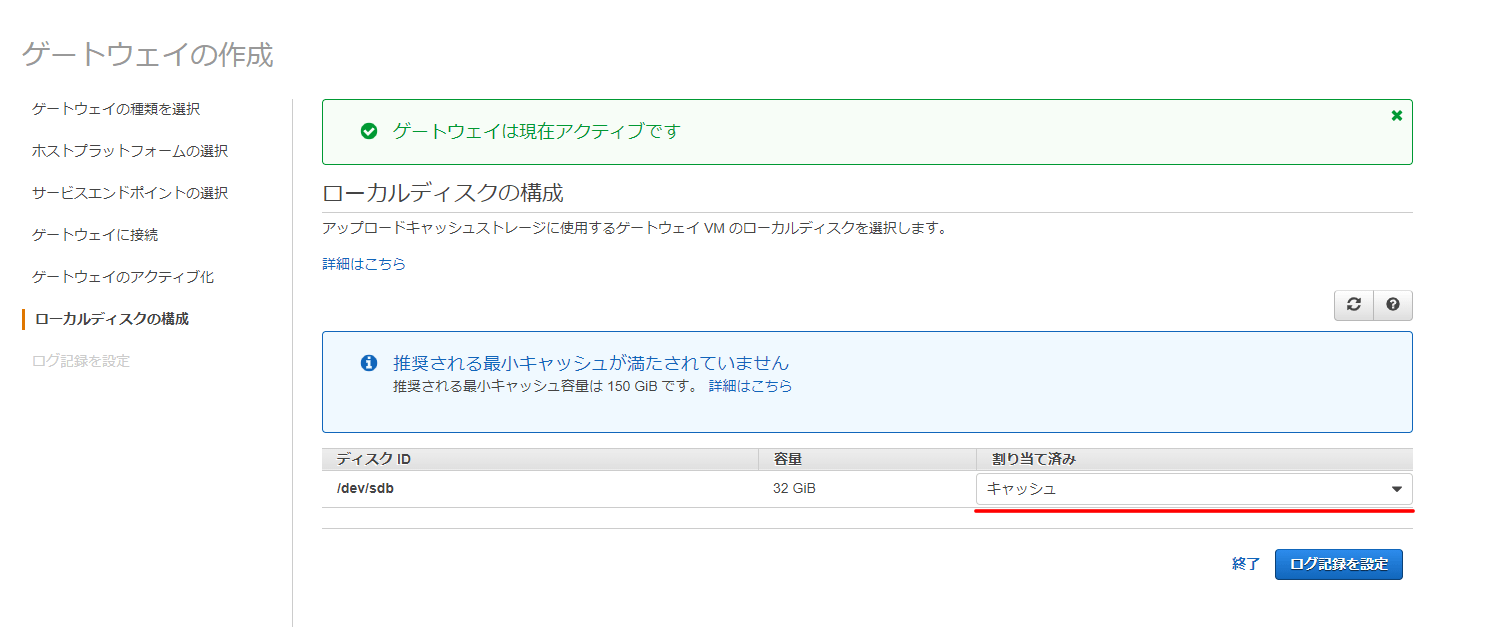
キャッシュ用のディスクを選択します。
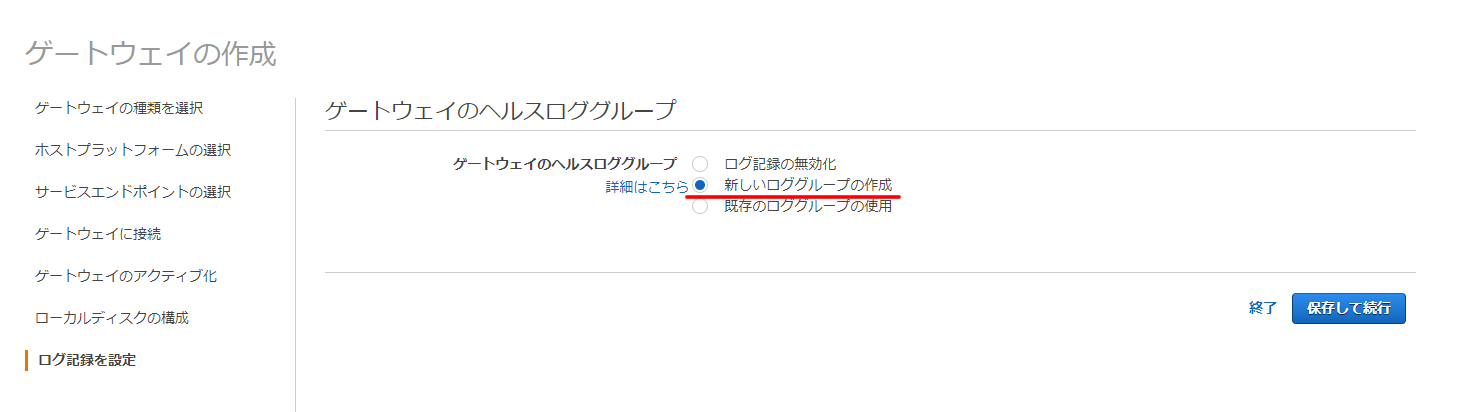
デフォルトのままとします(新しいロググループの作成)
ドメインに参加
作成したファイルゲートウェイをドメインに参加させます。
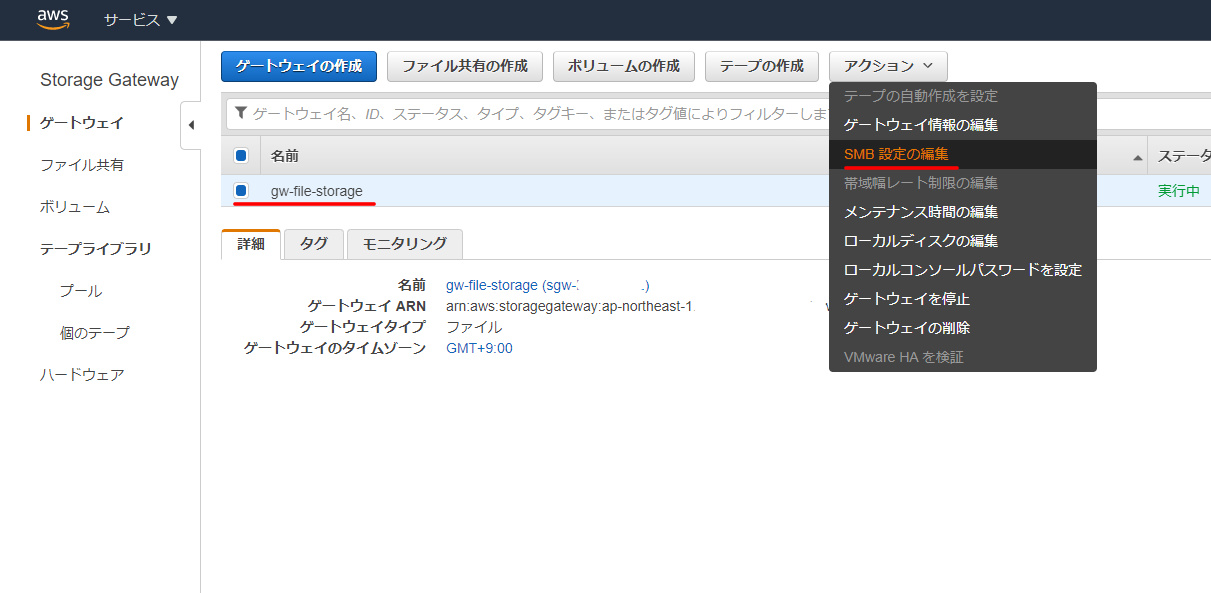
ゲートウェイメニューから、作成済のゲートウェイを選択して、”アクション”メニューより”SMB設定の編集”をクリックします。
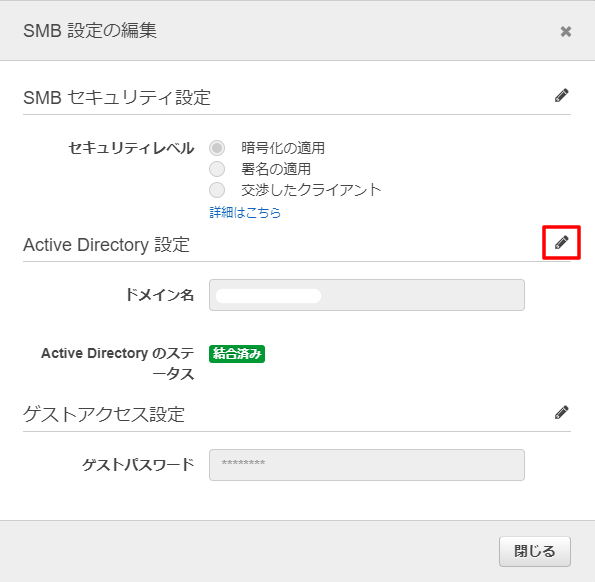
Active Directory設定の右の編集ボタンを押します。
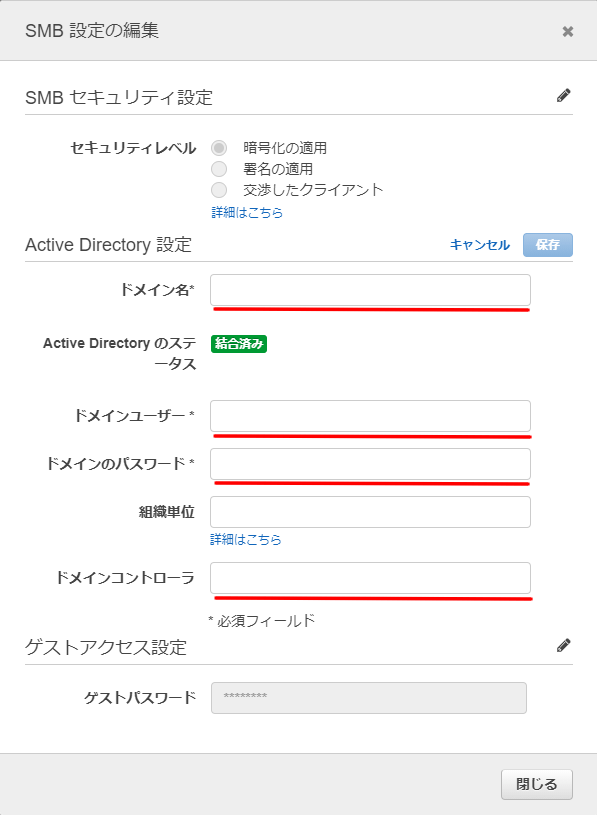
[ドメイン名][ドメインユーザー][ドメインのパスワード]:ドメイン参加に関する情報を入力します。
[ドメインコントローラー]:今回はDirectory Serviceを使用しているので、ドメインコントローラーのIPアドレスをカンマ区切りで2つ入力しました。
ファイル共有の設定
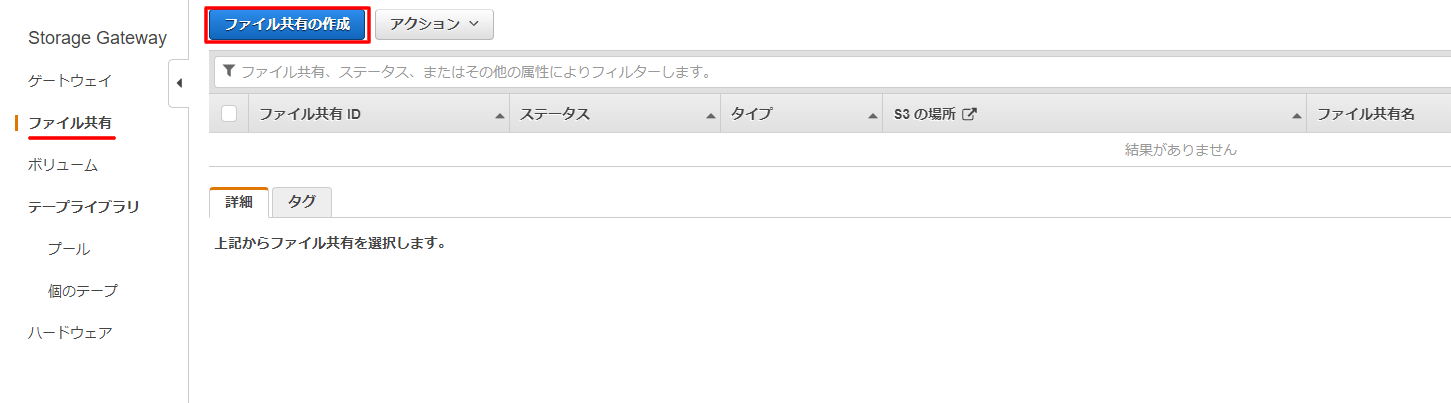
ファイル共有の設定をしていきます。
ファイル共有メニューの「ファイル共有の作成」ボタンをクリックします。
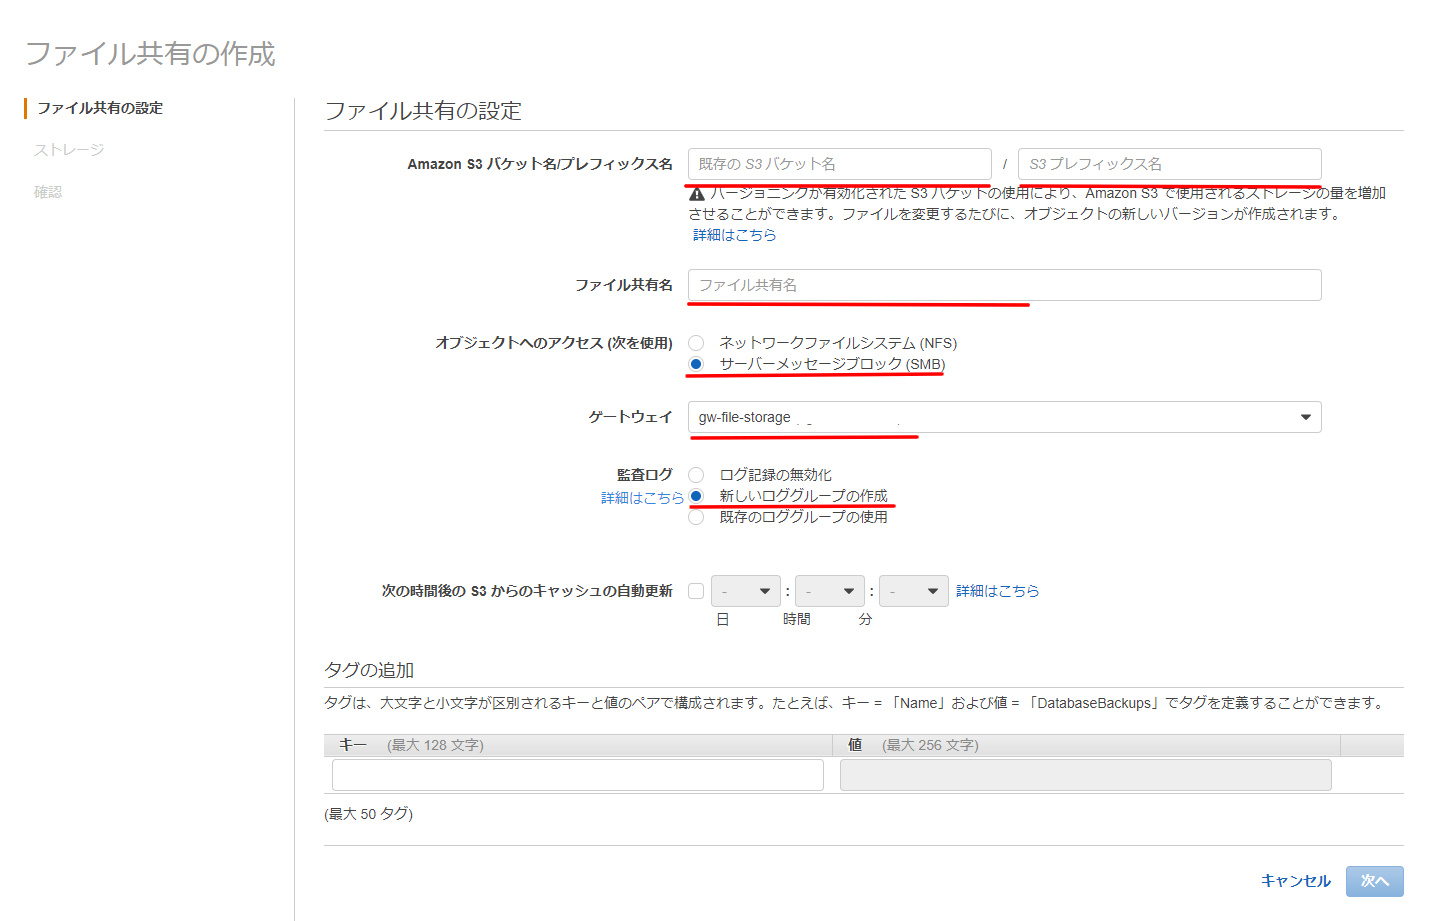
[Amazon S3 バケット名/プレフィックス名][ファイル共有名]を入力します。
[オブジェクトへのアクセス]:サーバーメッセージブロック(SMB)を選択します。
[監査ログ]:新しいロググループの作成を選択しました。
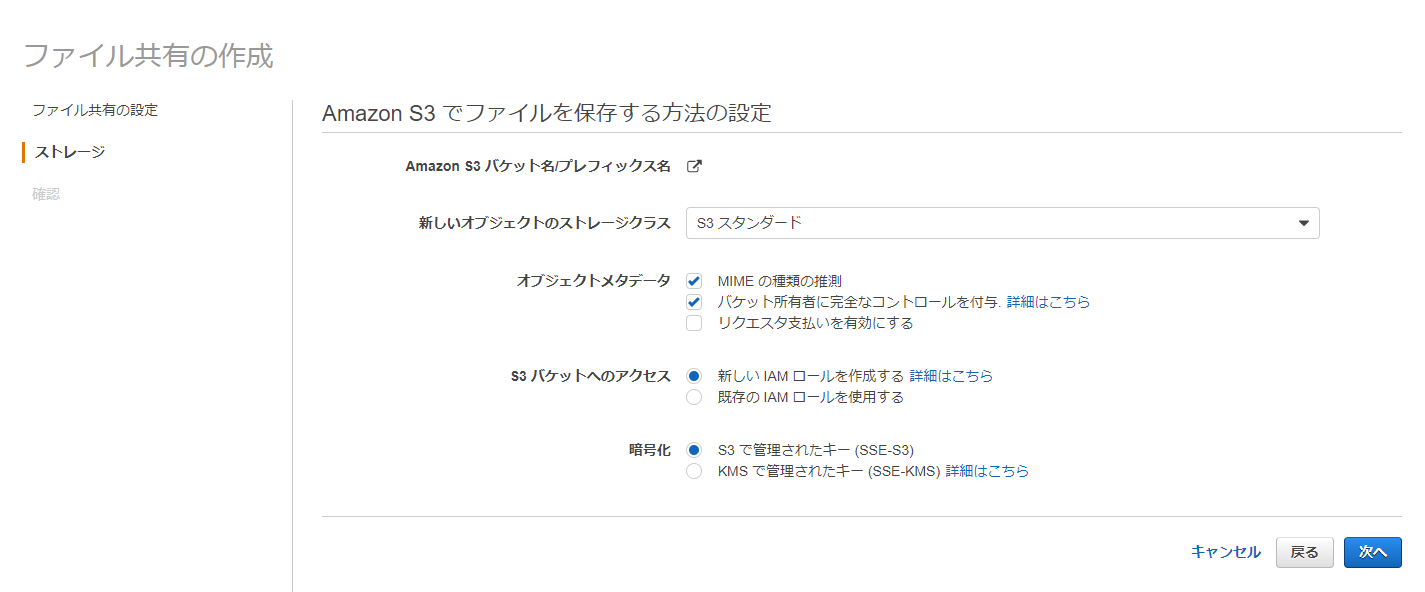
S3でファイルを保存する方法を設定します。
今回はデフォルトのままとしました。
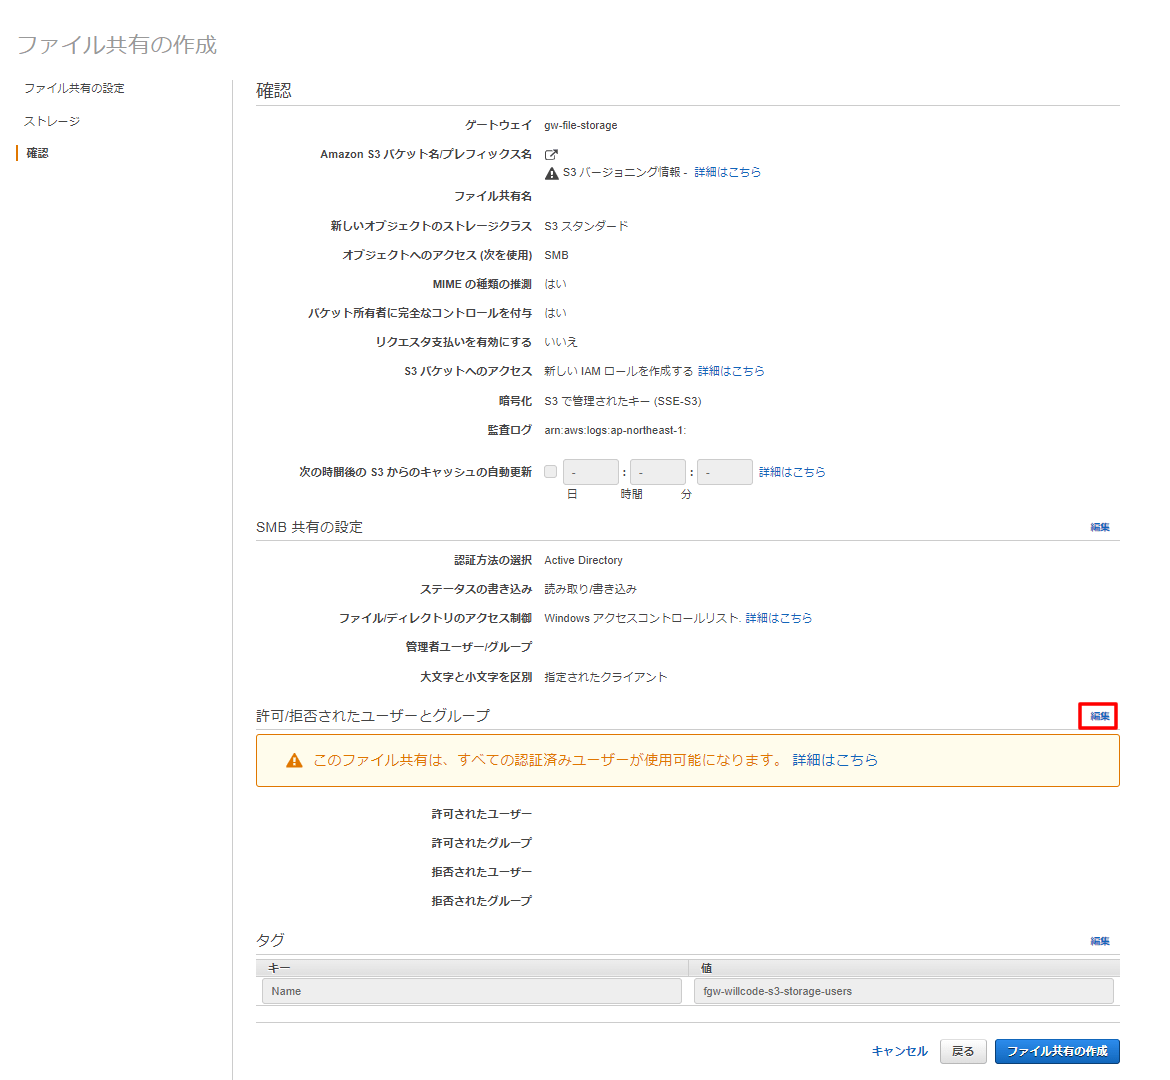
確認画面では、共有に対してユーザー・グループ単位でアクセス許可・拒否設定ができます。
後からでも設定できますが、必要であれば”編集”ボタンを押して設定します。
今回は全てのドメイユーザーに対して許可するので何も設定しませんでした。
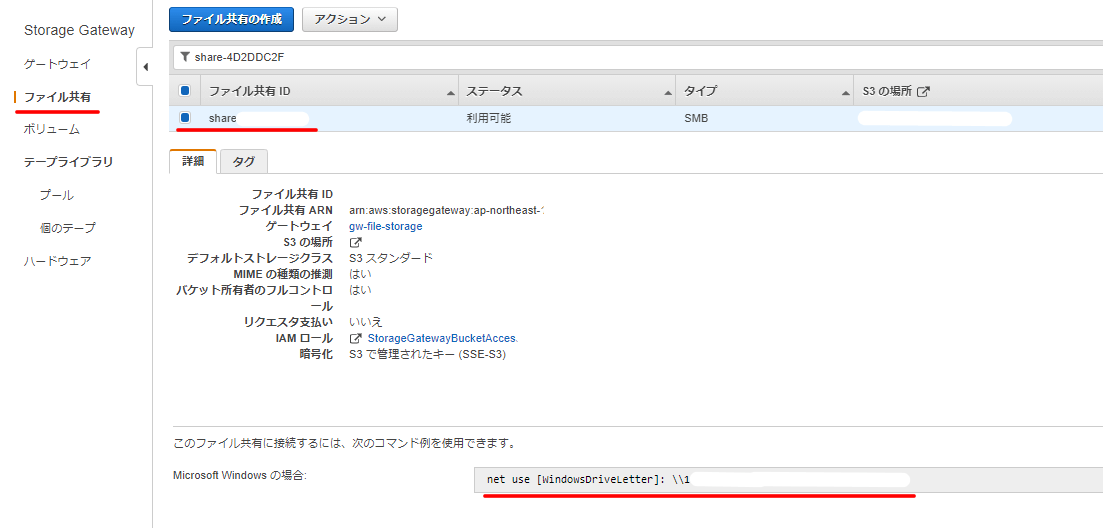
作成されたファイル共有を選択して、下部の接続用コマンドをコピーしておきます。
クライアントの設定
ファイルサーバーの設定が終わったので、続いてクライアントの設定をしていきます。
コマンドプロンプトを開き、先ほどコピーしたコマンドを実行します。
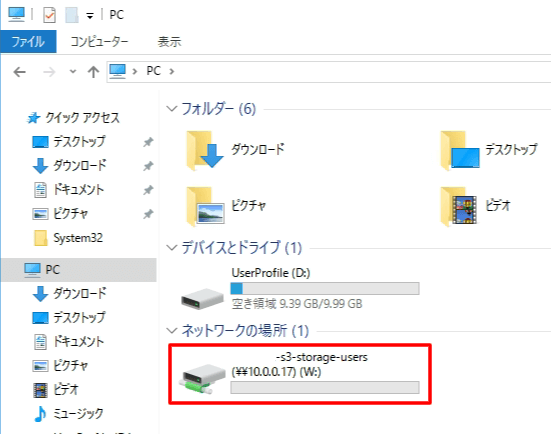
eドライブとしてネットワークドライブを割り当てたい時は下記のようにします。(IPアドレスとxxxxx部は変更してください)
net use e: \\10.0.0.17\xxxxx
コマンドが成功し、ネットワークドライブに割り当てられました。