
インストール・準備
VSCodeとGitをインストールします。
Git for Windows
VSCode
gitでは下記コマンドを実行してユーザー情報を登録しておいてください
$ git config --global user.name 'username'
$ git config --global user.email 'username@example.com'
VSCodeにGitのコミット履歴を見やすくするGit Historyという拡張機能を追加します。
左の[Extensions]ボタンを押して、検索欄に”git history”を入力してGit Historyをインストールします。

作業フォルダを作成します。
test_desuフォルダを作成しました。
VSCodeの[File]-[OpenFolder]から作業フォルダ(test_desu)を開きます。
リポジトリ作成
リポジトリを作成します。
VsCode左のCourceControlメニューをクリックして、プラスをクリックします。すると、作業フォルダが表示されますので選択します。

コミット
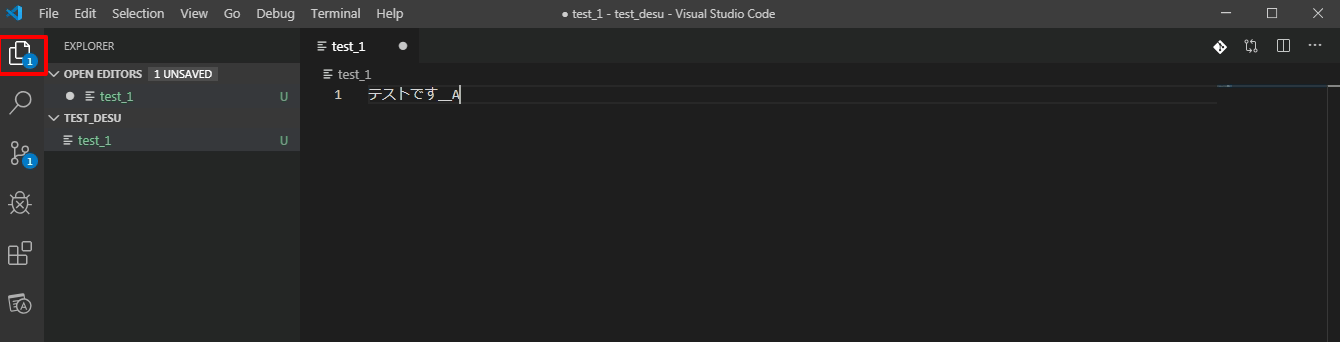
下記のメニュー(Exploler)から”test_1″ファイルを作成して”テストです_A”と入力しました。
下記のメニュー(CourceControl)に戻りプラスボタン(StageChenges)を押すことでステージング状態となります。

コミットメッセージを入力してコミットボタン(チェックのマーク)を押します。

テキストの内容を”テストです_B”に変更してもう一度コミットします。
コミットのログを確認
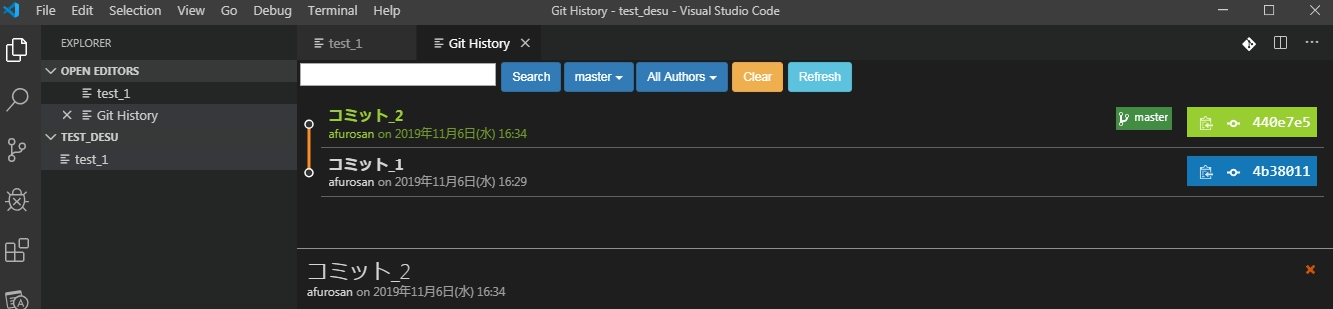
Ctrl+Alt+Pを押して、”gitlog”と入力すると、「git:View History」が表示されるので選択します。
コミットのログが表示されます。
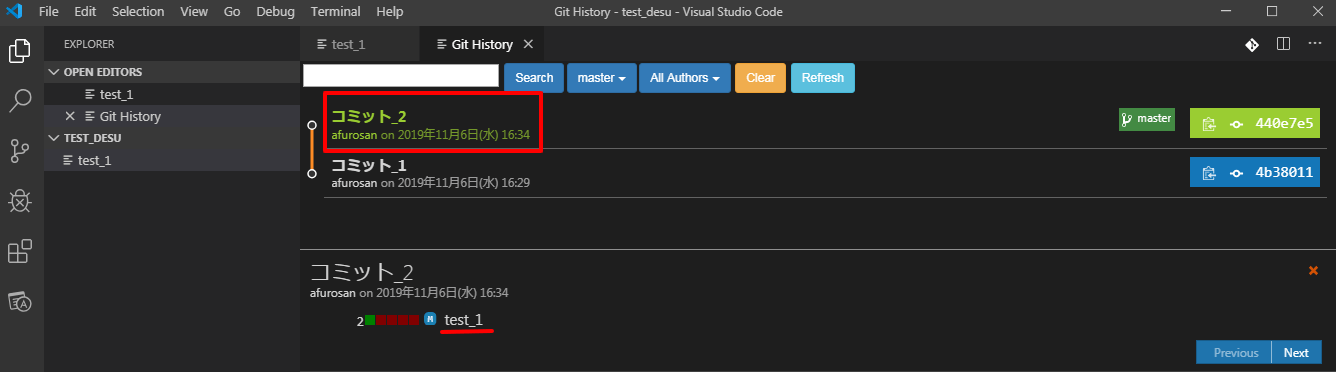
コミットの変更内容を確認
コミット2を選択して、下に表示されるファイル名(test_1)をクリックして、
Compare against previous versionを選択します。
変更内容が表示されます。

GitHubにプッシュしてみます
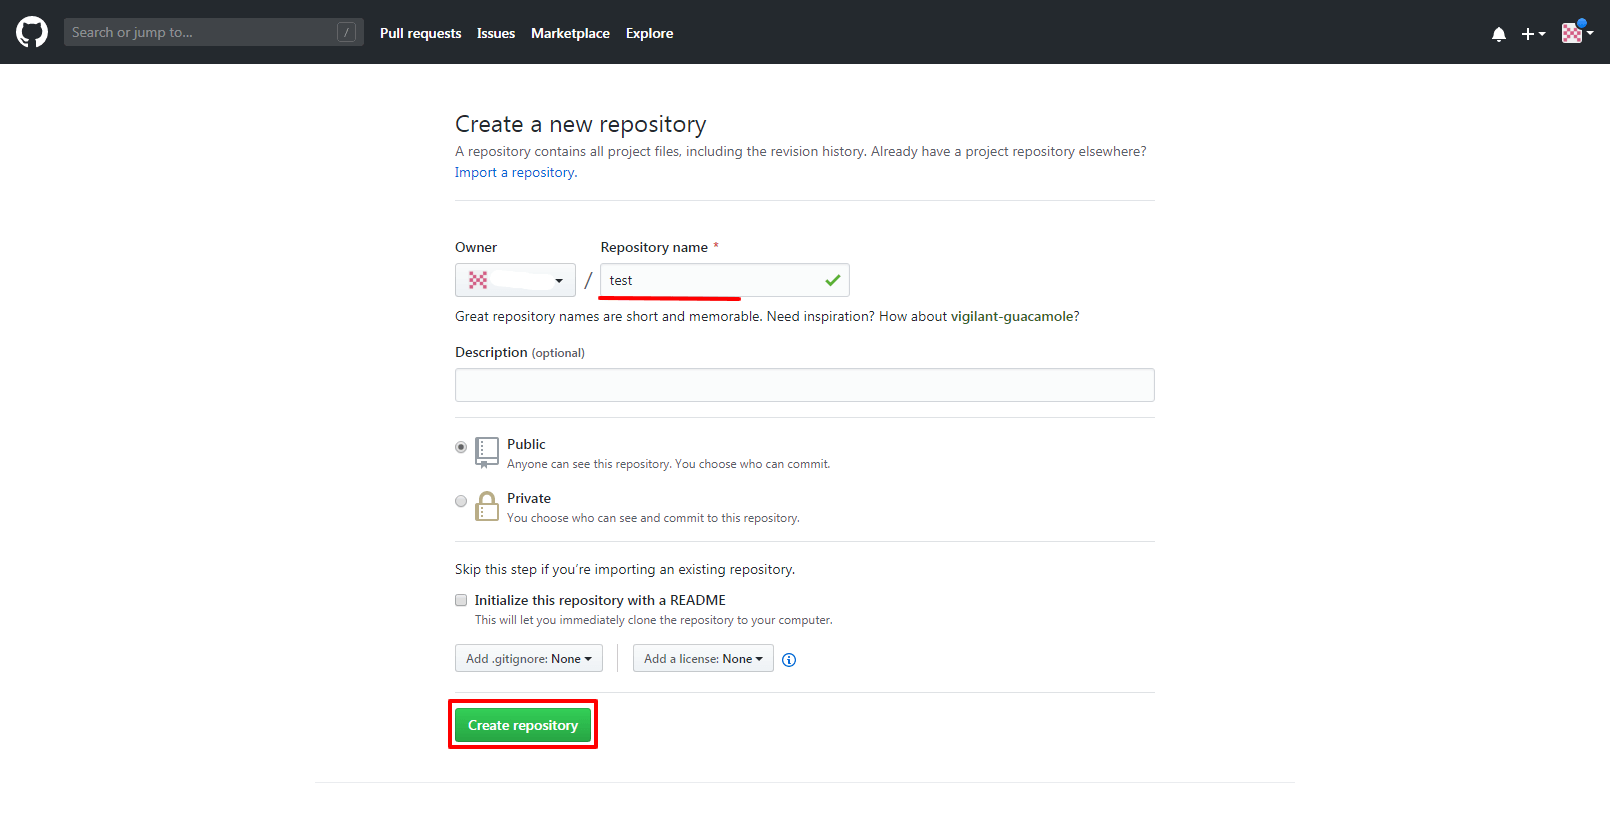
GitHubにログインしてレポジトリを作成します。
レポジトリ名を入力して「Create repository」ボタンをクリックします。
作成後、リポジトリURLを確認します。
VSCodeでターミナルを開き、下記コマンドを実行します。
URLは、先ほど確認したリポジトリURLに置き換えて下さい。
途中、ユーザー名をパスワードを確認されますので、入力します。
※途中「fatal: HttpRequestException encountered. この要求の送信中にエラーが発生しました。」と表示されましたが、Gitの最新バージョンをインストールする事で解決しました。
git remote add origin https://github.com/xxxxx/test.git
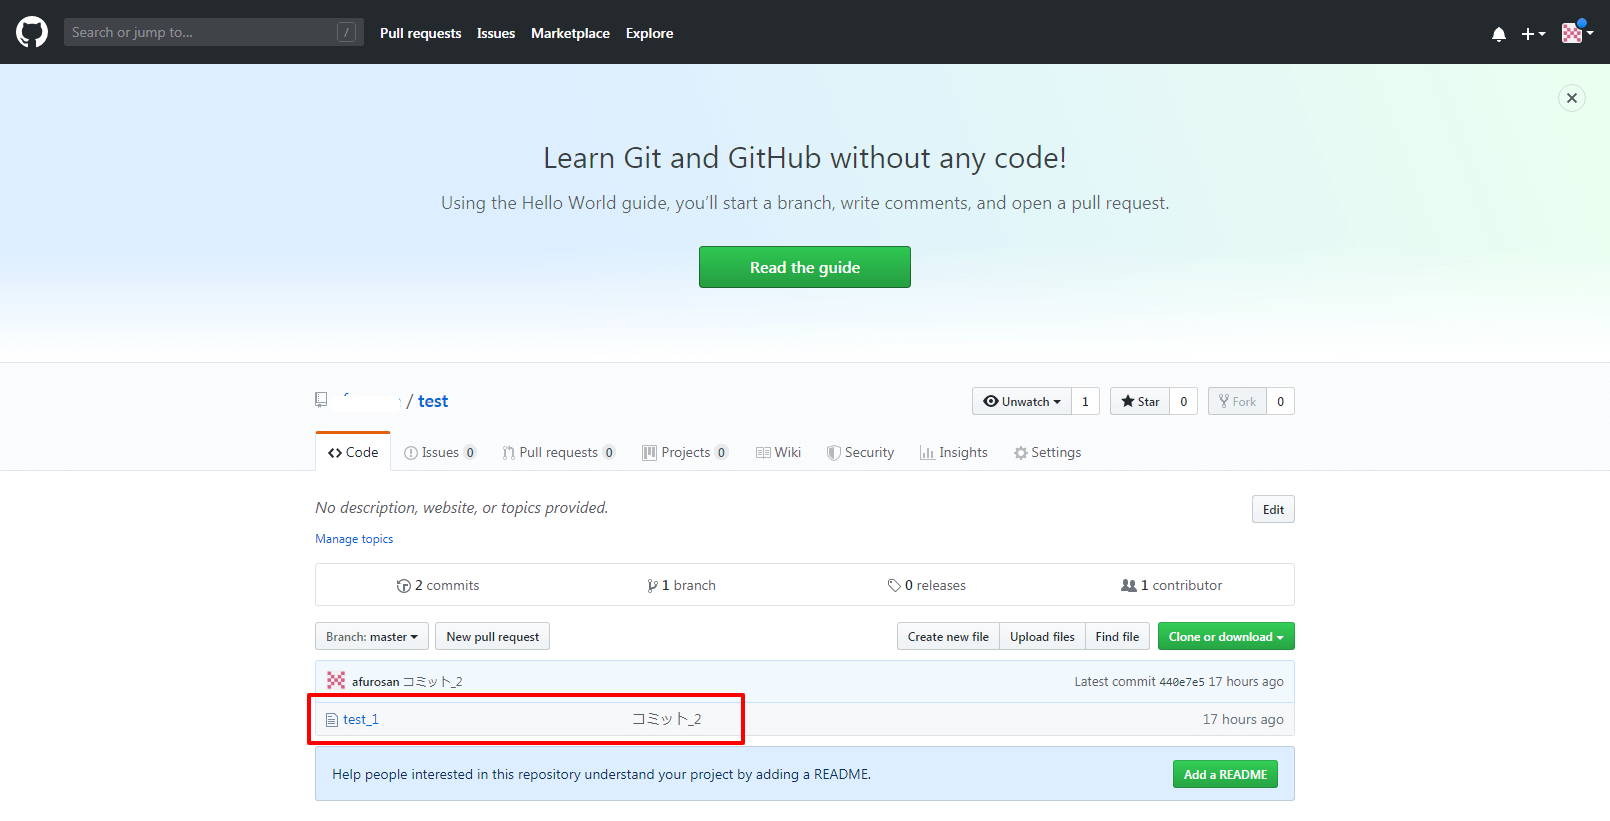
GitHub上で確認すると、無事にプッシュされていました。
追記 VSCodeのGitLens拡張機能インストール
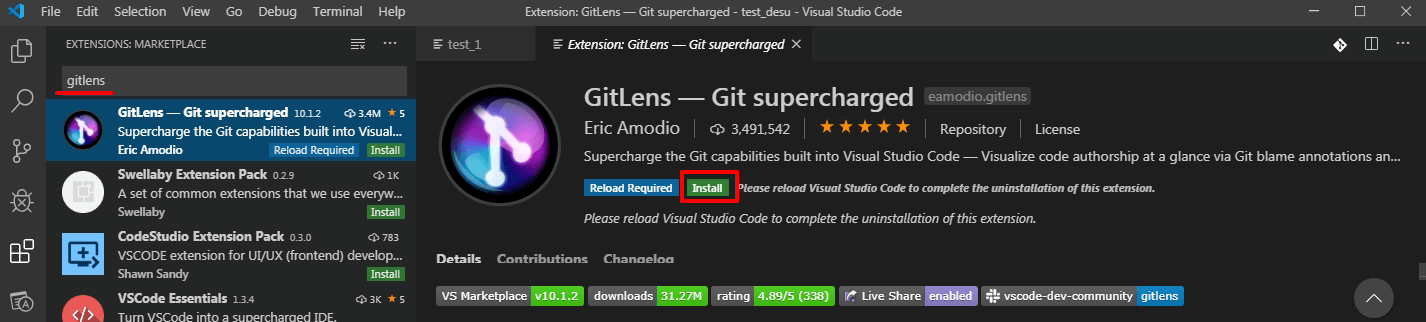
Git Lensが使いやすそうなのでVSCodeにインストールしました。
VSCodeの左の[Extensions]ボタンを押して、検索欄に”gitlens”を入力してGitLensをインストールします。
左にGitLensのメニューが増えました。
FileHistoryのコミット部にカーソルを当てると誰がコミットしたかなどの情報が表示され、使いやすそうです。

クローンします。
既にリモートレポジトリが存在する時は、クローンをします。
コマンドパレットを開きます(Ctrl+Shift+P)
gitcloneを入力して選択します。
レポジトリのURLを入力するように言われるので入力します。
入力後、クローンするローカルの場所を問われますので、ダイヤログでフォルダを指定します。
